
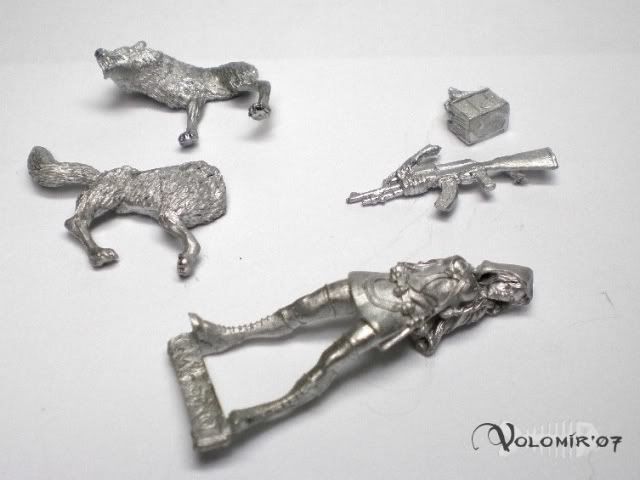
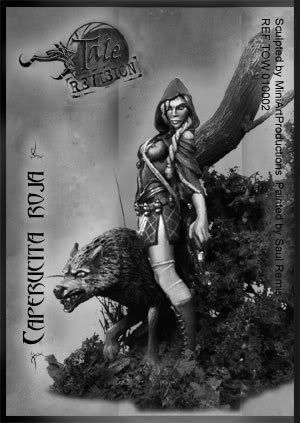
Here's a picture of the pieces included.
And here's how I deal with the preparation of a miniature of this kind:
First I clean out the mold lines, I use steel wool to polish the miniature (because it's a metal kit and we want it polished so that paint will adhere better). Then we glue the miniature to a temporal holder (in this case, an old base glued to an old paint pot) and we fill in the possible gaps we find with putty. Now comes the tricky part: which pieces should I assemble now and which do I leave to assemble later? This depends on our personal criterion but this is what I follow:
- If the part to be glued overlaps a part of the miniature which is going to be very visible and it is going to be a nightmare to paint that area because of that glued piece, I wait and assemble it later.
- If the piece covers some area which is not visible, or which goes in a very marked shadow plain, I don't worry and glue it now because it is going to save me a lot of time.
- If the piece to be glued has a very weak joint, it needs a brass rod or it leaves a nasty gap when assembling and needs putty filling, although it may satisty any of the previous conditions, I can't do anything but to glue it now. If that is the case, I don't want risking paint jobs when working with putty and glue in a later stage.
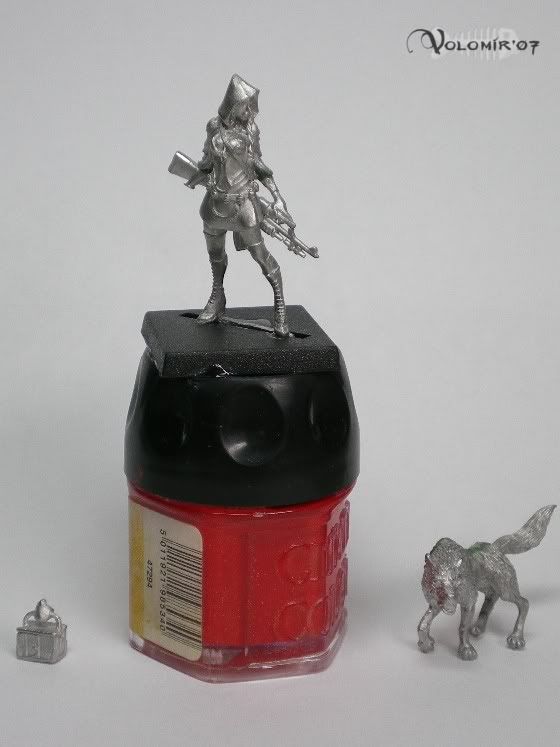
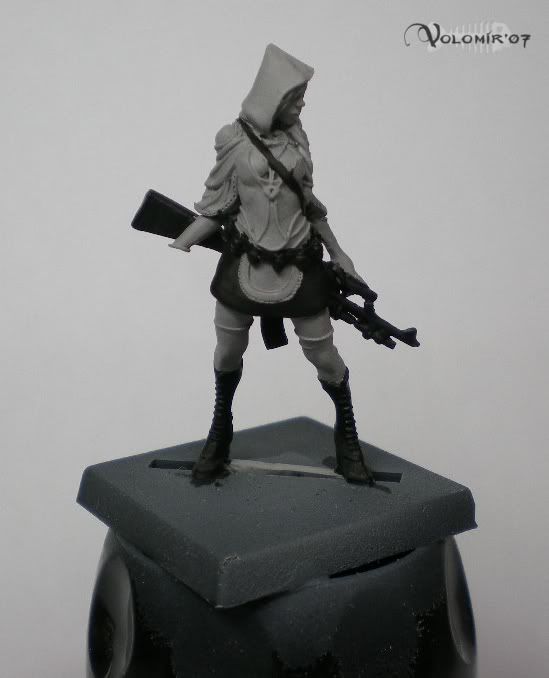
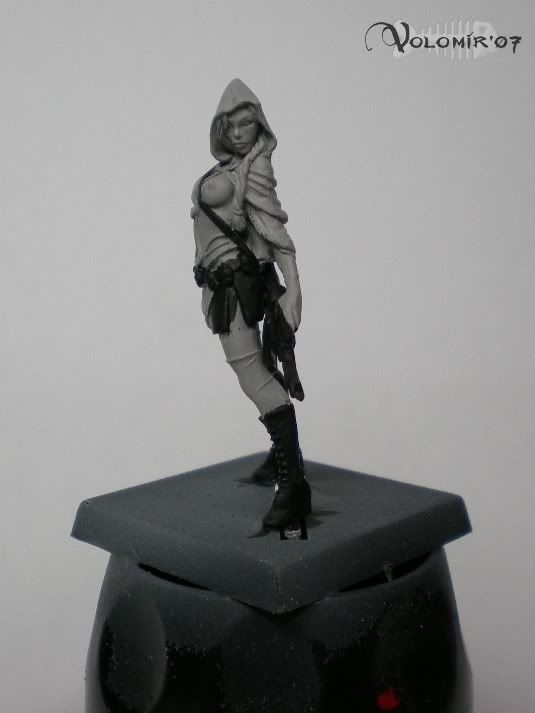
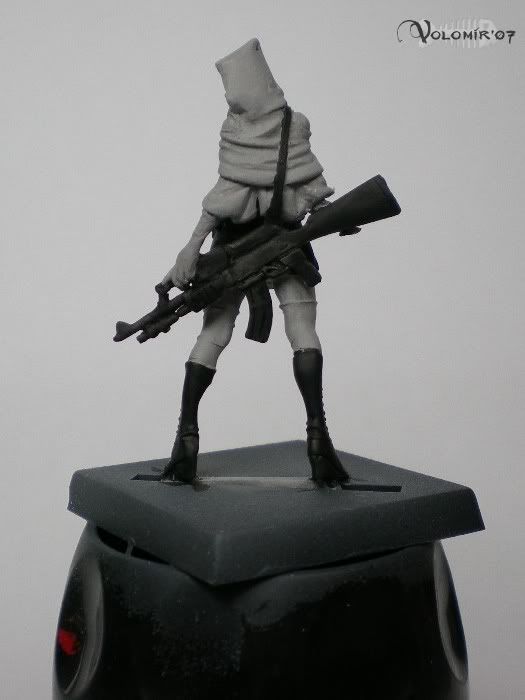
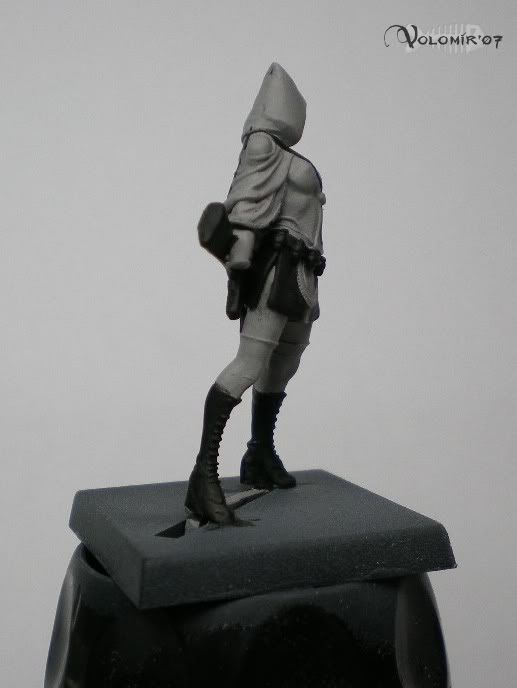
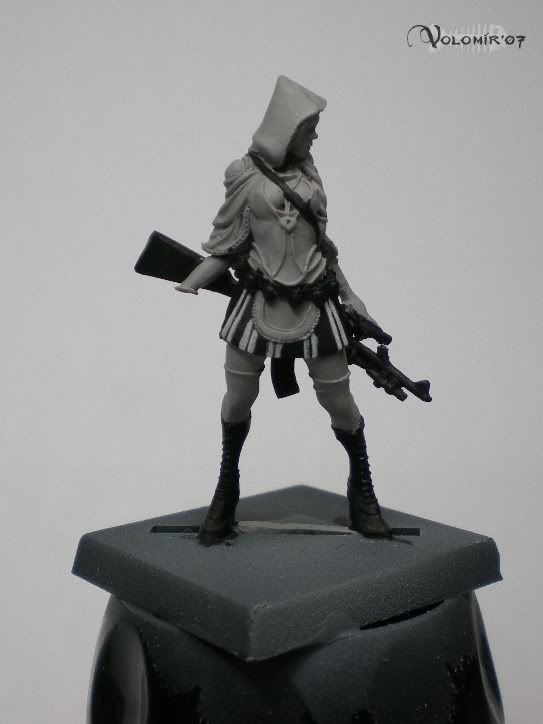
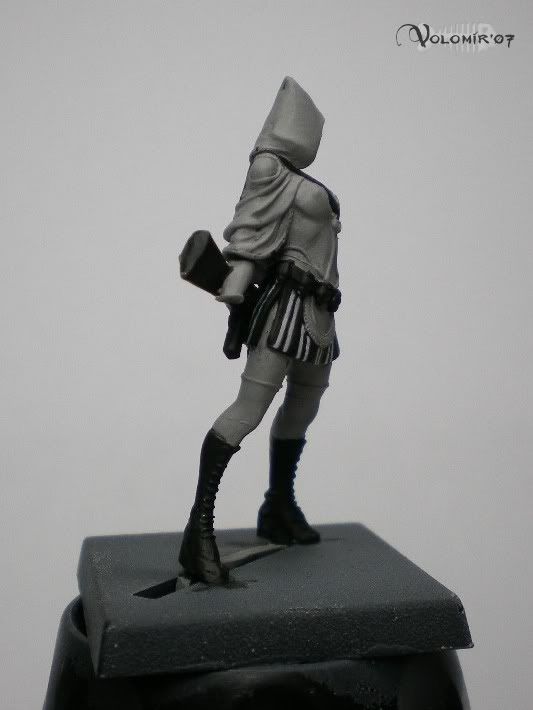
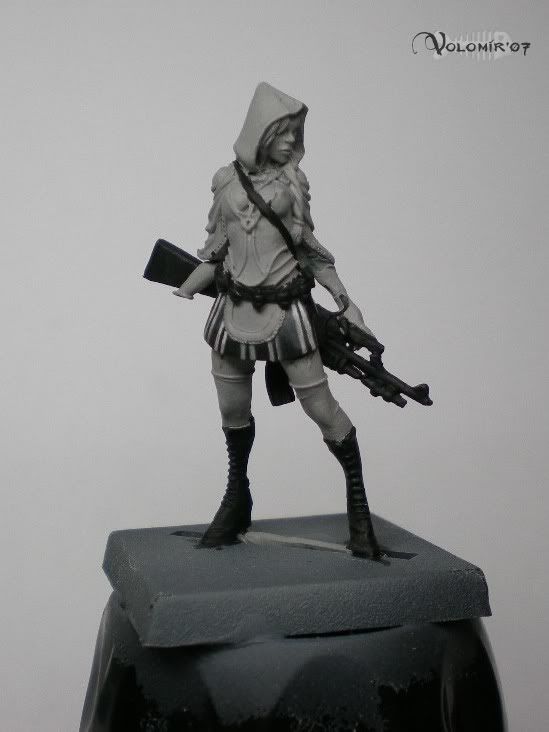
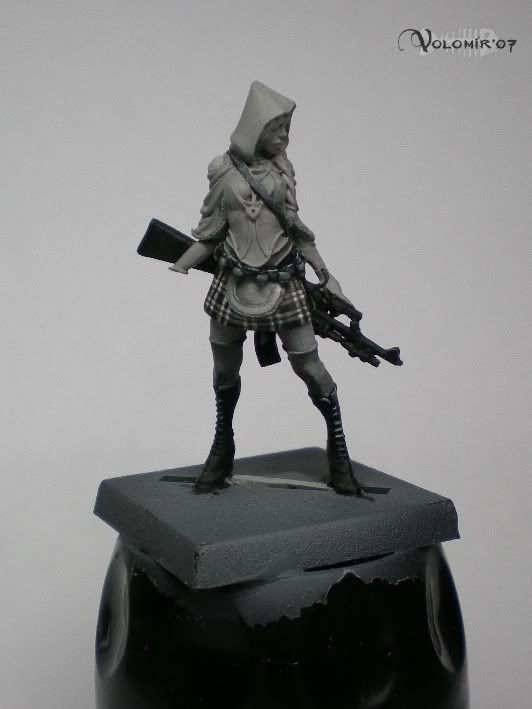
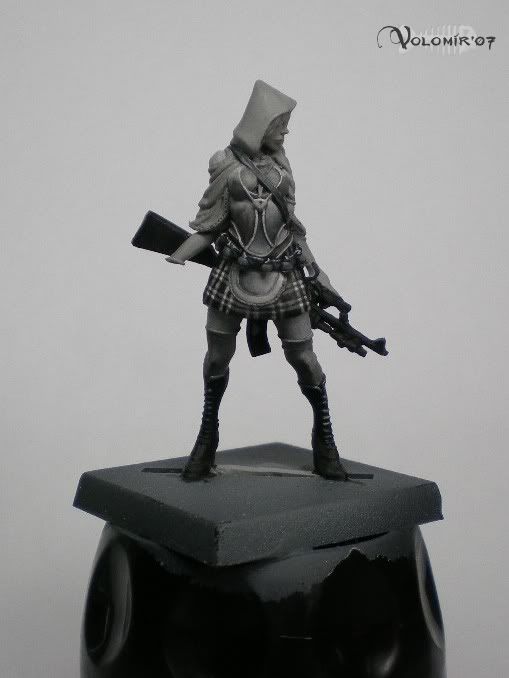
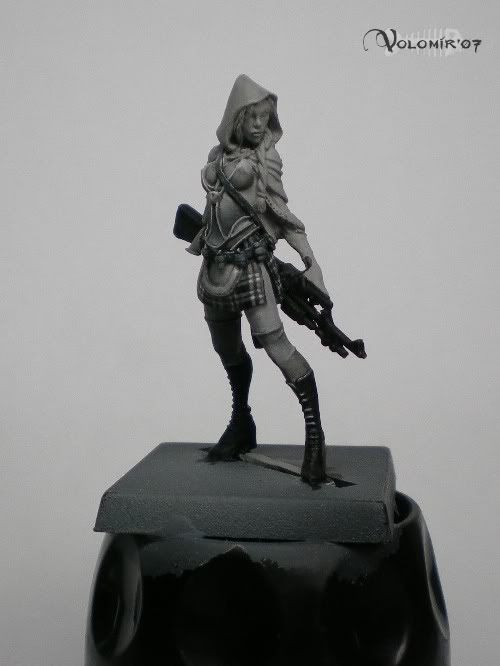
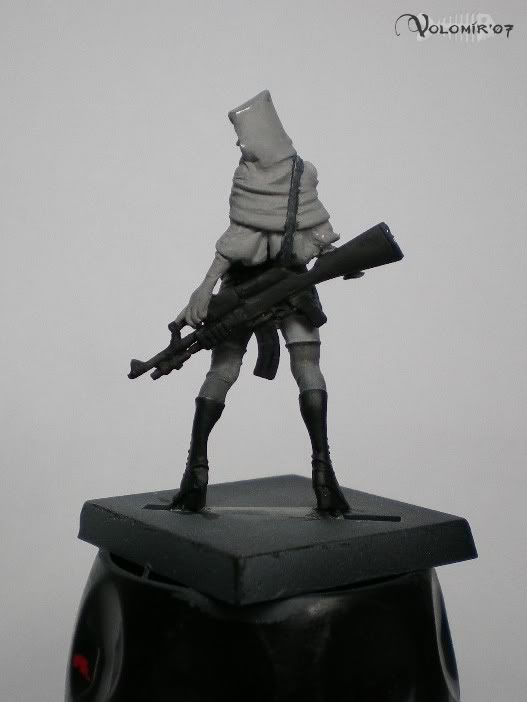
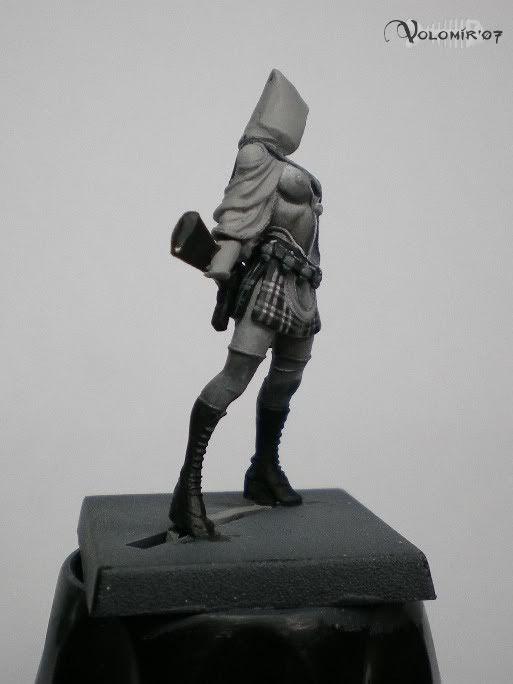
Well, as you can see I glued the arms because they cover completely the back part of the skirt which I won't bother painting. The hand with the basket, as it is up in the air, covers an area of the skirt which is going to be visible, and if I glue it is going to be ver difficult for me to paint it. Also, I checked that it does not need any brass rod, or any drilling job, and it does not leave any gap wich may need filling when assembling. Therefore, I leave it to be glued later, after it is painted. Finally, I decided to glue the miniature to a temporal base which I glued also to an old paint pot which will enable me to hold it more easily while painting. Once I finish the miniature, I will take it from that temporal holder and glue it to the final base.
After this I prime it with an airbrush, using a mix of Grey Fortress from Citadel, some matt varnish from Vallejo so it can adhere better and prevents paint from chipping later, all dilluted with Tamiya Thinner. After this we have to clean very carefully the airbrush because the varnish may obstruct the nozzle. However, although this is the method I used in this miniature, currently I always prime with Grey or White from Gunze Sangyo using its own thinner. I believe that is the best way, but when I painted this miniature back on 2007, I wasn't priming this way yet.
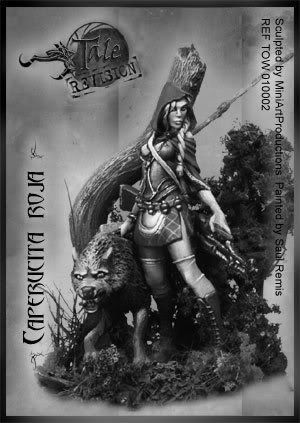
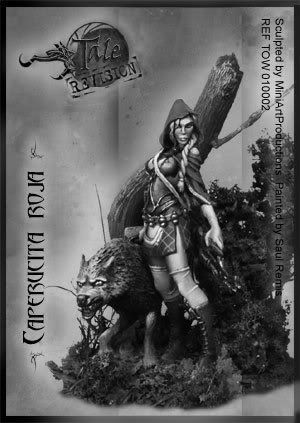
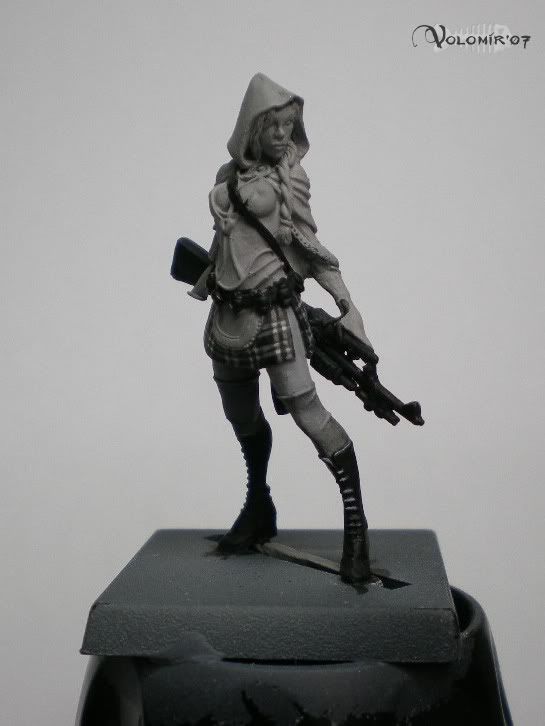
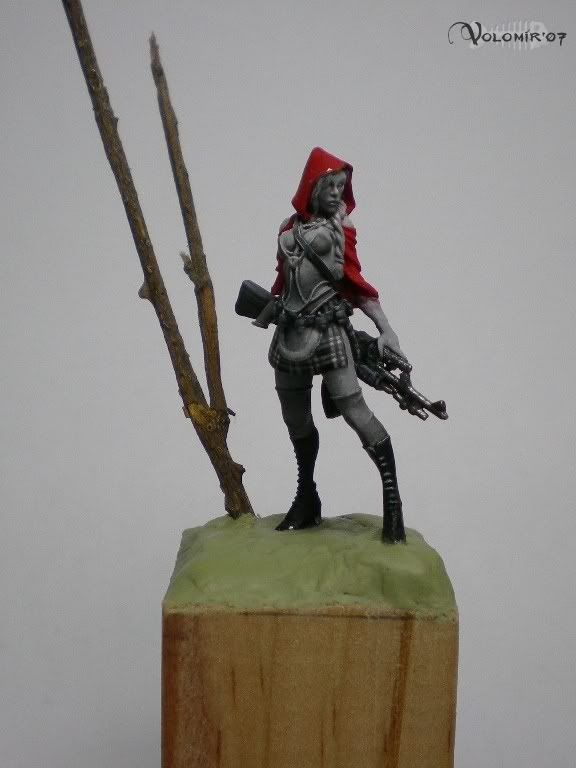
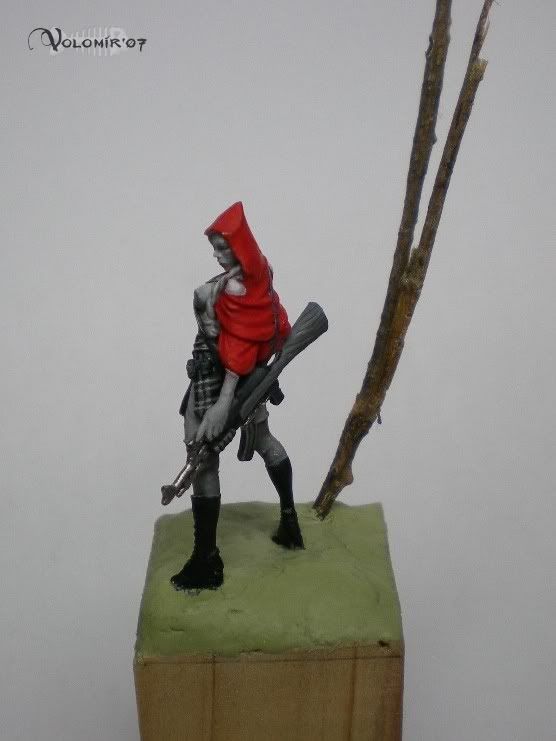
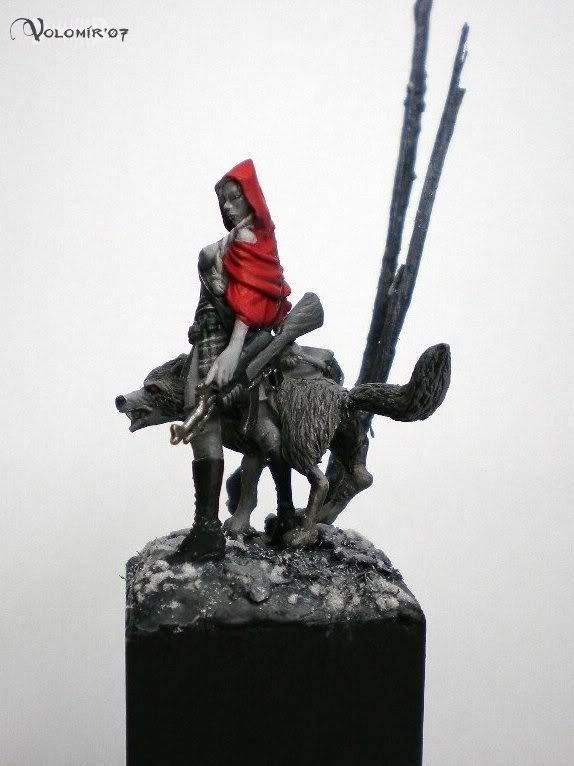
Now is when I think about how I'm going to paint the miniature. It occurred to me (and this is what my friend Saúl Remis told me) that to accentuate more the effect of the red in the hood, I could paint the whole scene in black and white (grey scale) mainting the hood and the cape red. Also, I would be creating a snowy base which would give me more white and grey for this red highlight effect. This way I'm using some sort of "Sin City" effect. Because of this, I'm going to call the scene "The Babe Wore Red".
So that now I'm going to get the official box art and photoshop it to leave it in grey tones to see how the lights and shadows would work:
With this on mind it's time to paint. Here are the first steps:
I paint the boots black, the skirt and the straps, basicly because the base colour is going to be darker than they middle grey. As you can see I haven't been very careful as I painted badly sometimes. I don't worry, I will retouch when I have to paint that areas. Anyway, of couse, the more care you have the less retouching you will have to do later. So decide for yourselves the amount of clean painting that suits you the most.
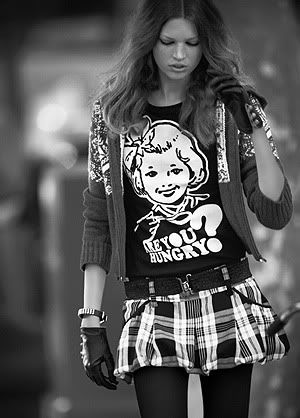
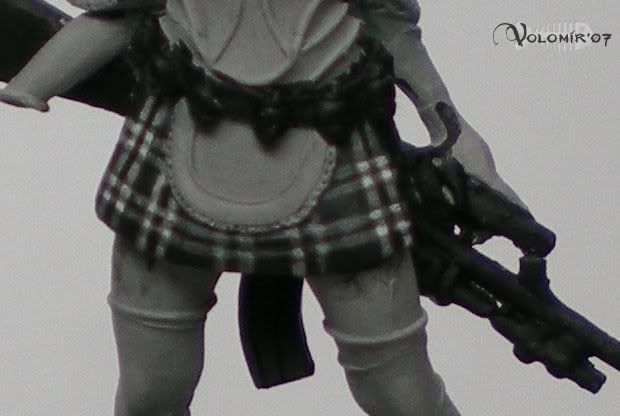
Now I began with the skirt, I'm going to paint it in a school style with some scottish square motives. I found this photo of Kate Moss in the internet which is going to be my inspiration (quite a lot of inspiration indeed):
It's going to be painted in clear grey tones. In the photo which I show you, the colour seems pure white, but that is because of the contrast with the black. Here's the first approximation to the lines.
Then I will be perfecting and cleaning, changing those on the centre to put them more to the right assuring that the space between them is as regular as I can.

Now it's time for some freehands. You have a whole article dedicated to the freehand in my Articles section, so if you have any doubt the best thing to do is to consult it.
The best thing always is to paint lights and shadows before going on to the freehands. However, in this miniature I have not followed my own reccommendations and I started painting before I had to. That will be no problem, I will fix it later with some glazes, although it may cost me more work.
In this surface so little I could have managed without the light and shadow work. See how I destroyed the previous lighting job when I freehanded the horizontal lines:
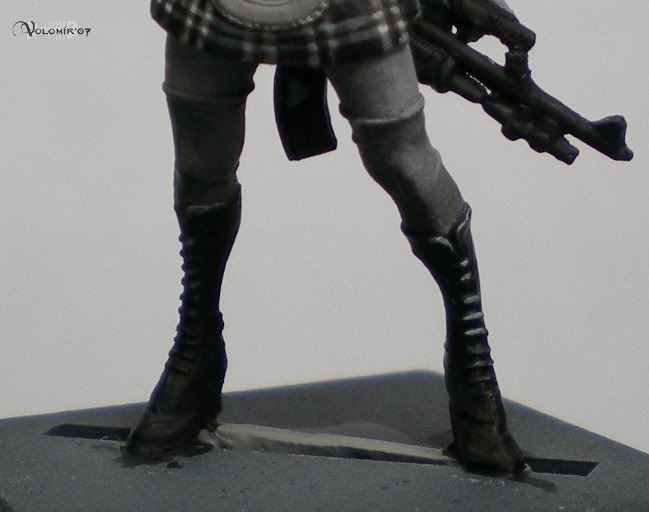
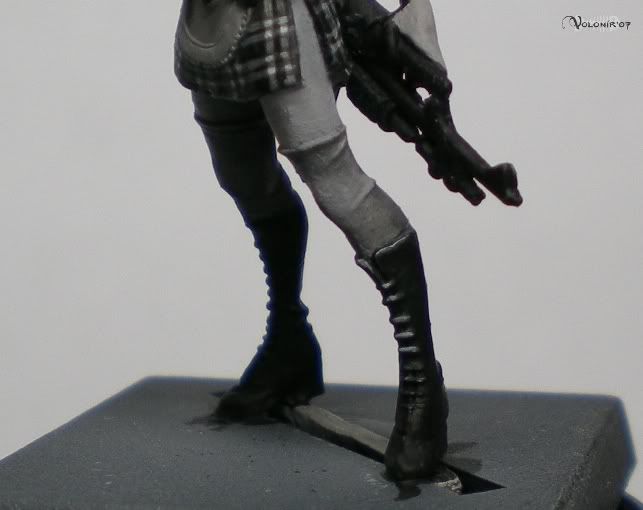
Now it's time for the boots and the legs:
The stockings are made with glazes of black from the priming grey, very carefully and retouching with grey glazes whenever I did something bad. Painting in black and white is a very good exercise to practise glazes and light placing because we forget about the effect that the colour has in the miniature and we can concentrate only in the technique aspect. I reccommend this exercise very much!
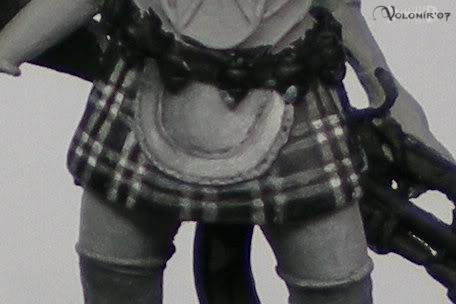
Then I paint the apron which is on top of the skirt, all with black and grey glazes, and lighting the grey towards white.
Then the straps and the grenades:
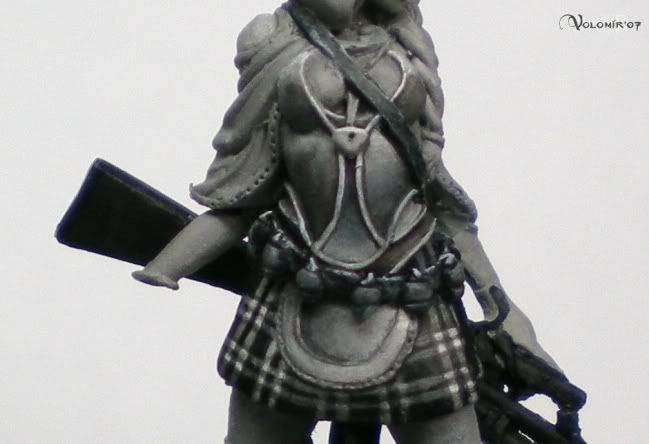
The corset, as the rest of the miniature, up with clearer greys and down with darker greys.
And in detail:
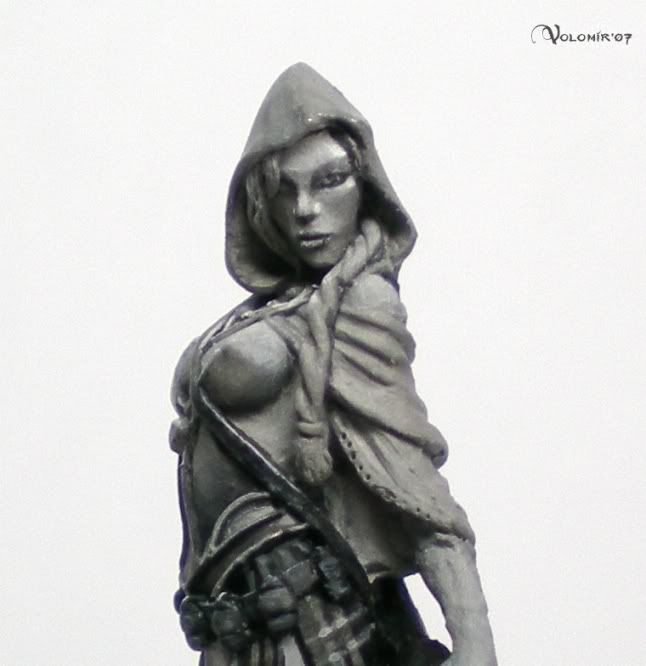
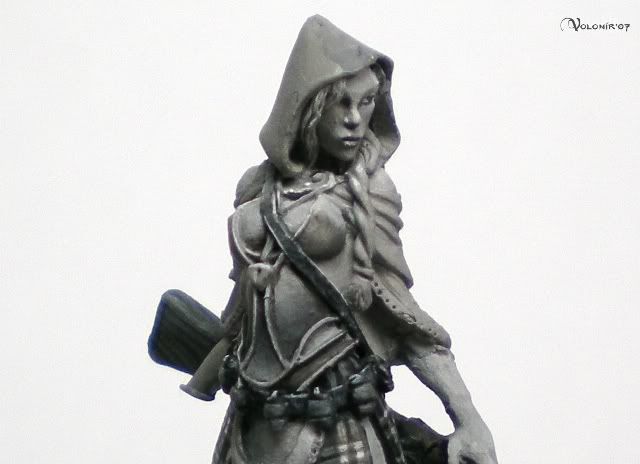
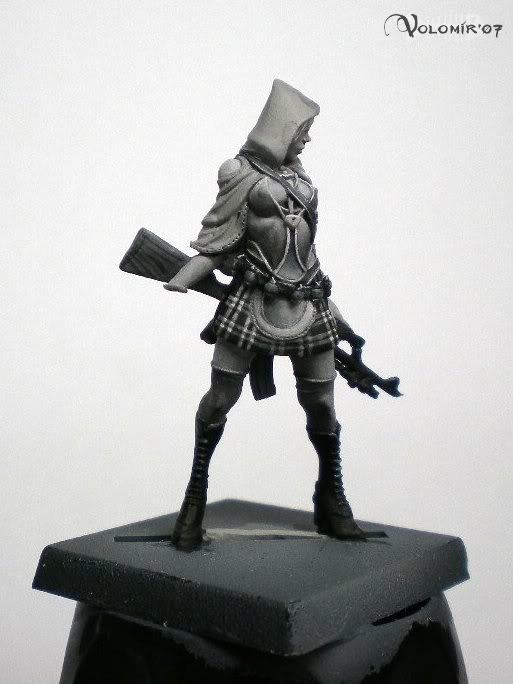
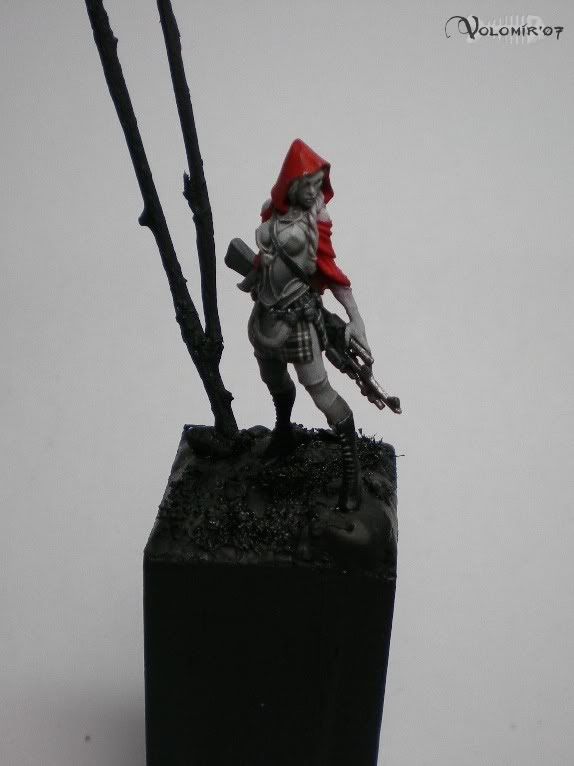
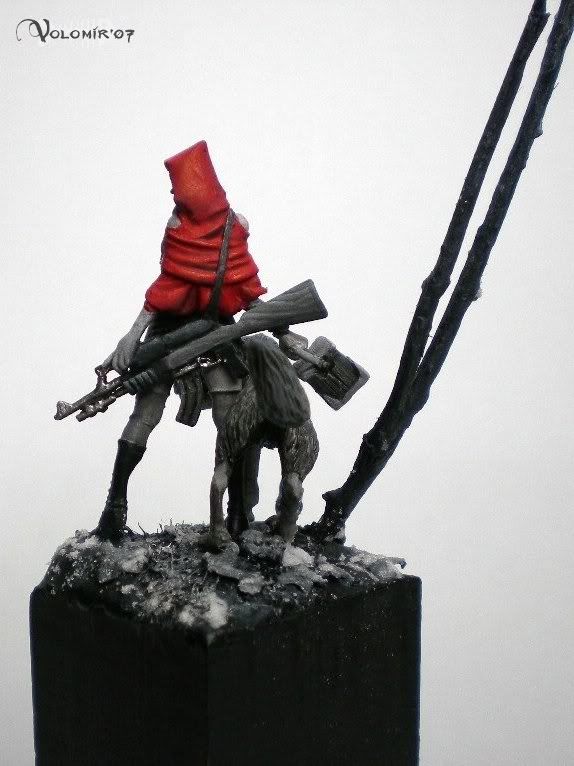
Here is what was left of the body in black and white, the face and some touches of wood in the weapon.
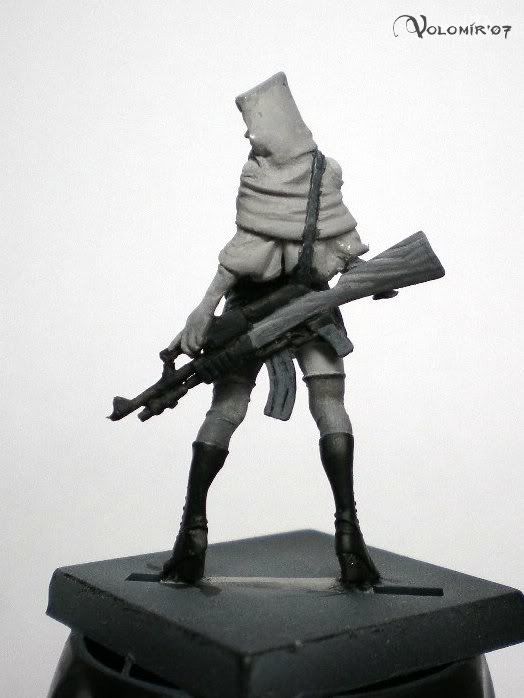
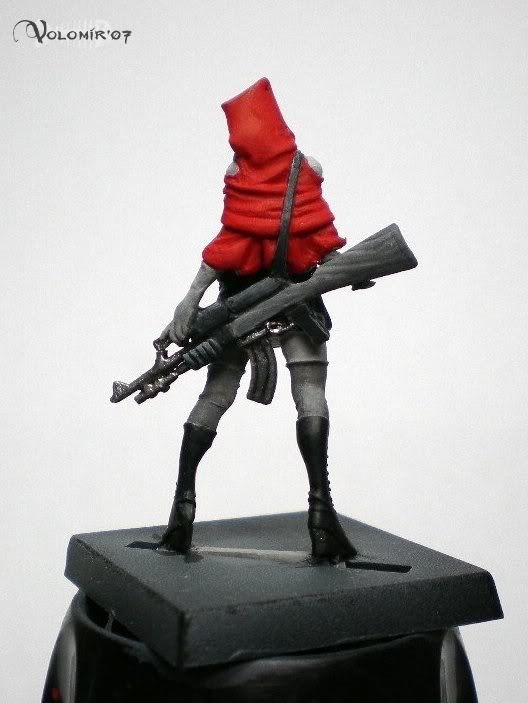
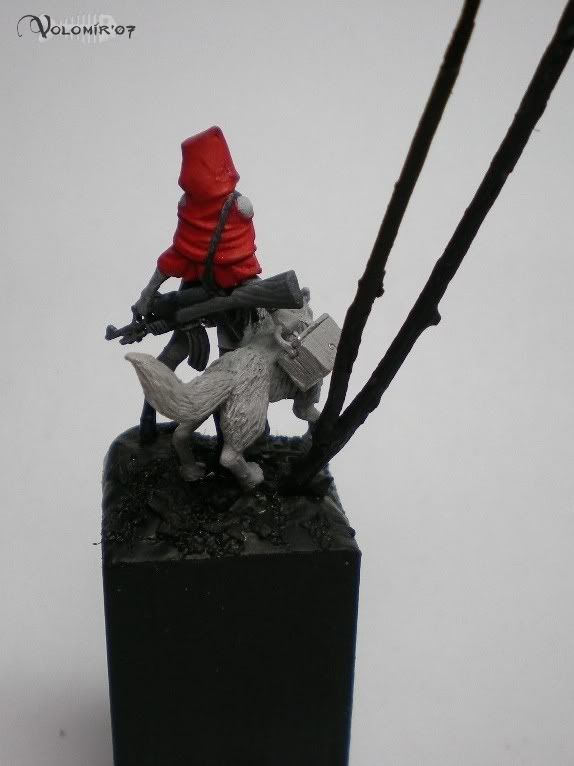
I complete the weapon and give base red to the hood.
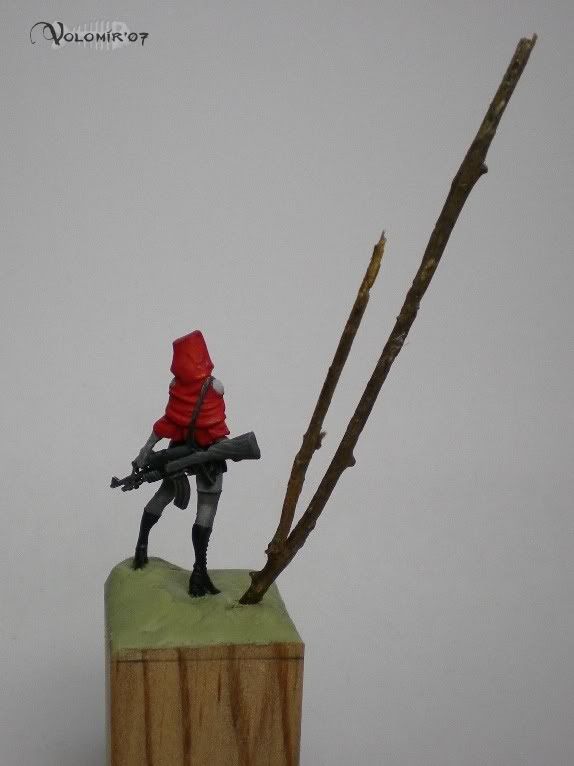
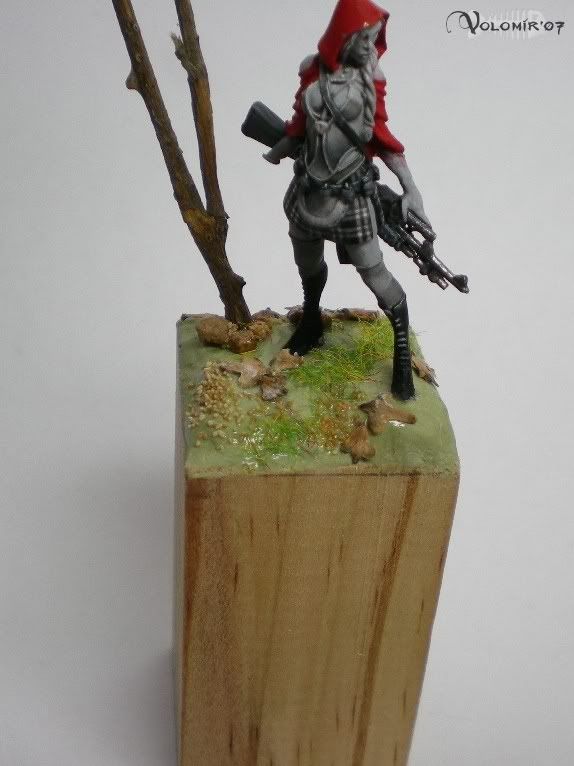
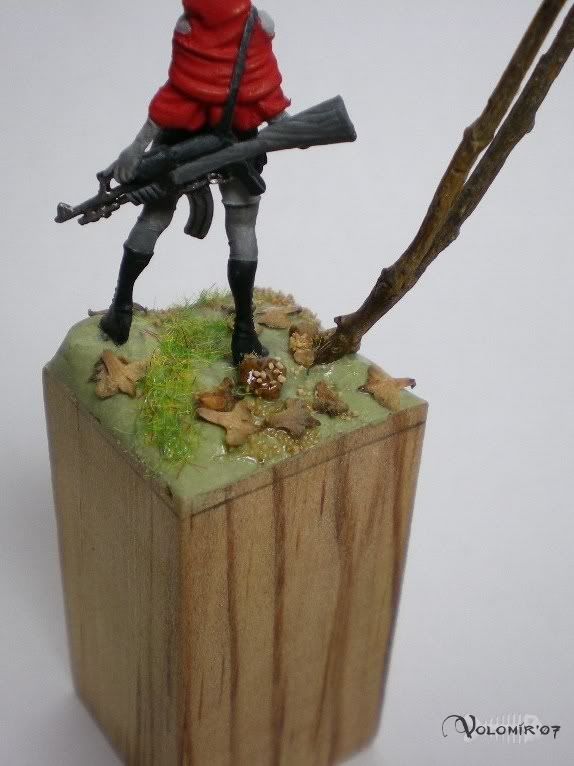
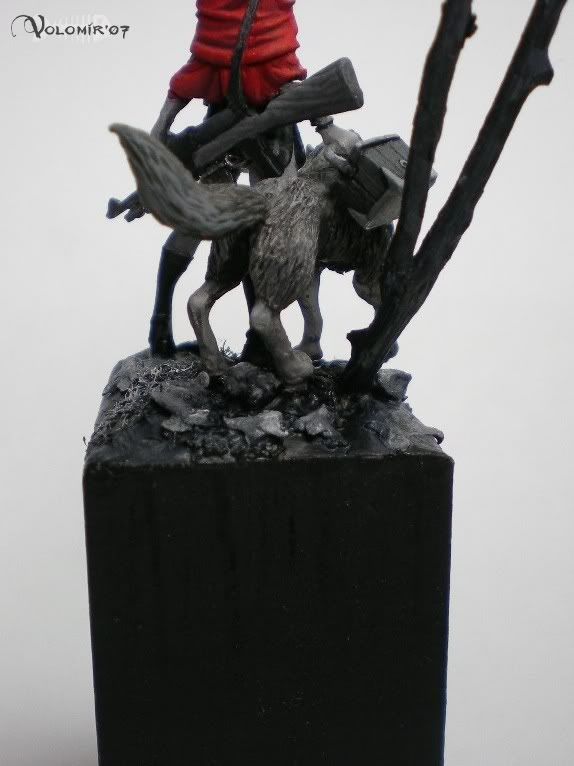
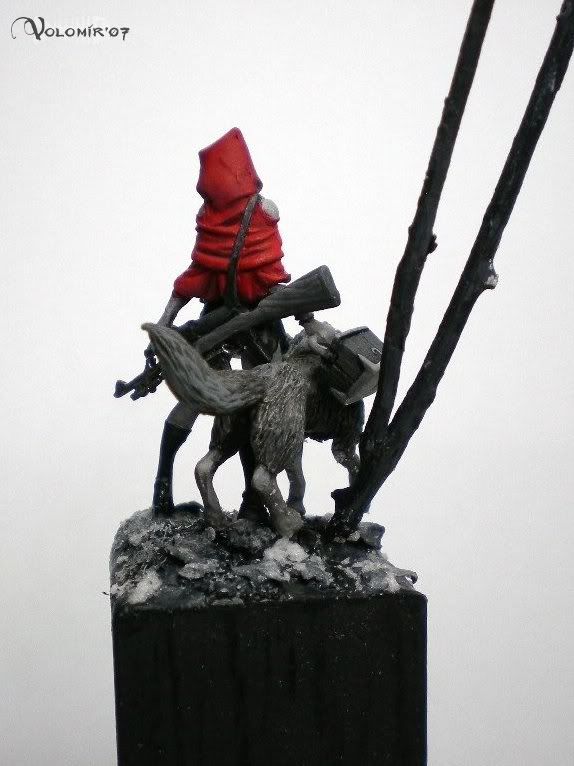
For the base I'm going to simulate as if the terrain is some kind of snowed forest with a leafless tree. Therefore I can justify better the black and white and also, it is very fast!
Now I do the terrain in a very simple way, putting elements without thinking about it very much:
Prime it with a brush:
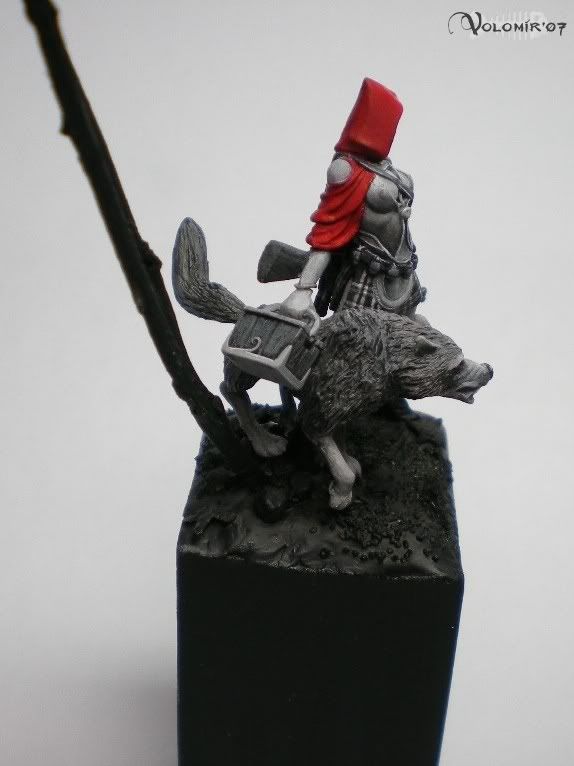
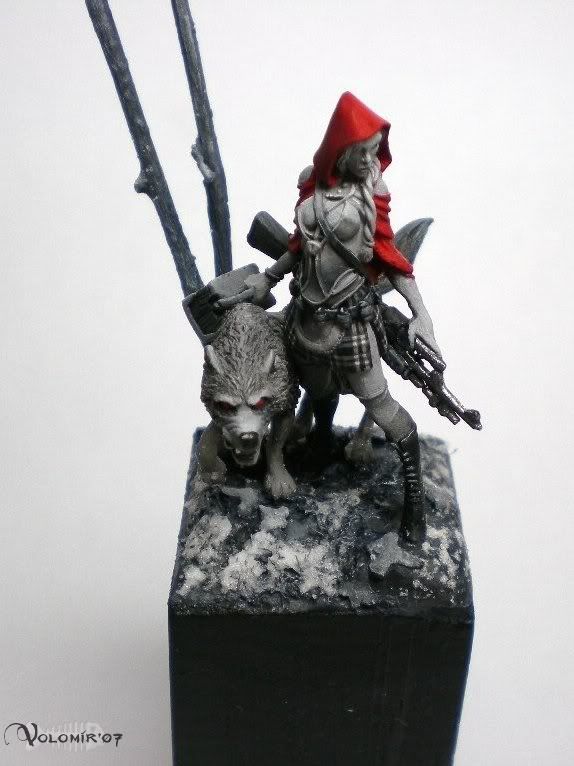
Now I put the wolf and the hand which left all at the same time so I don't waste time painting things which are not going to be seen:
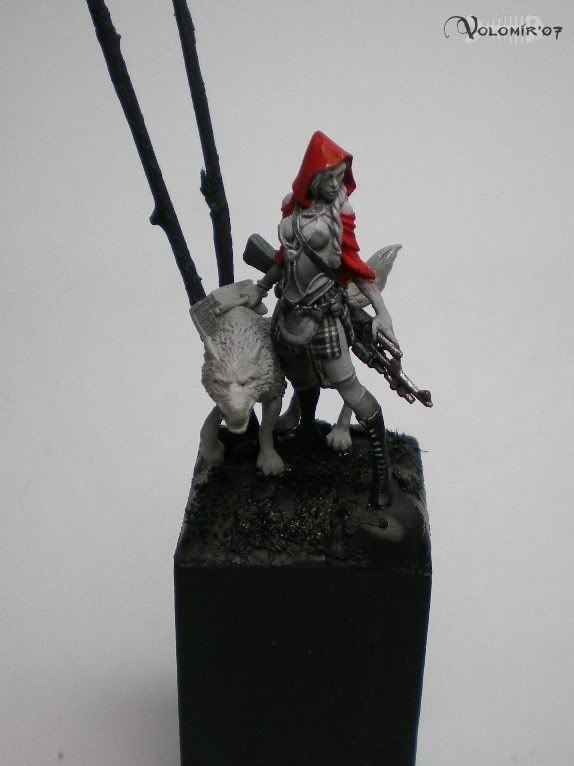
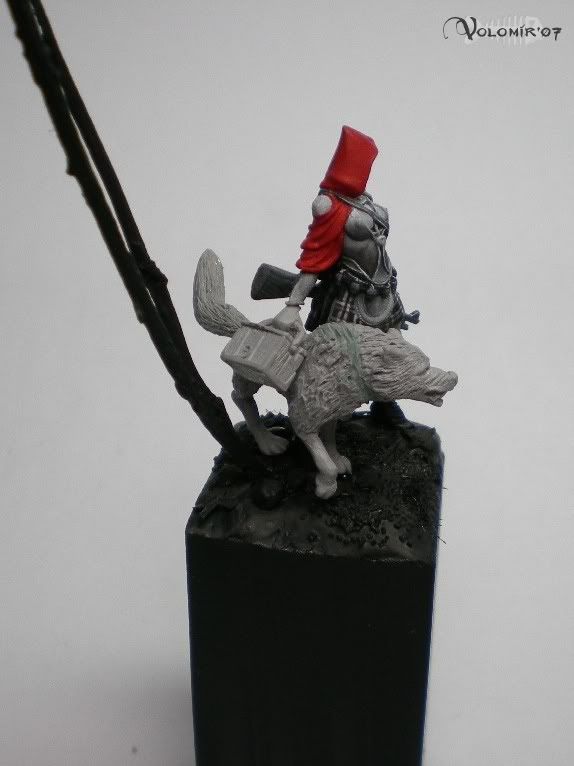
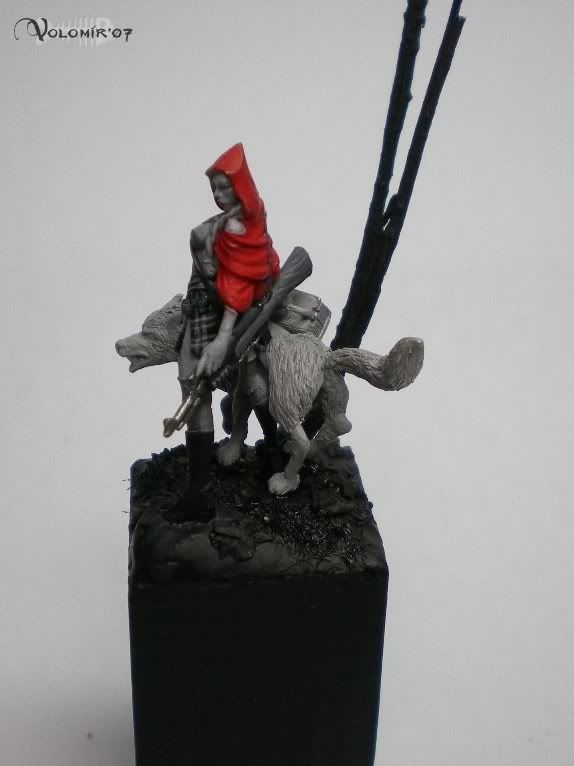
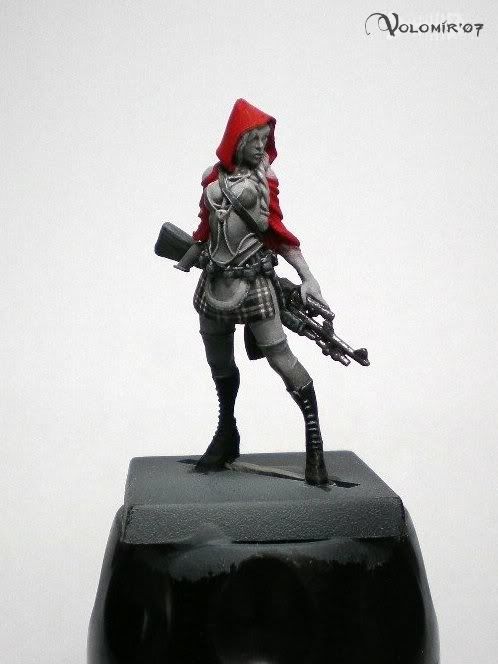
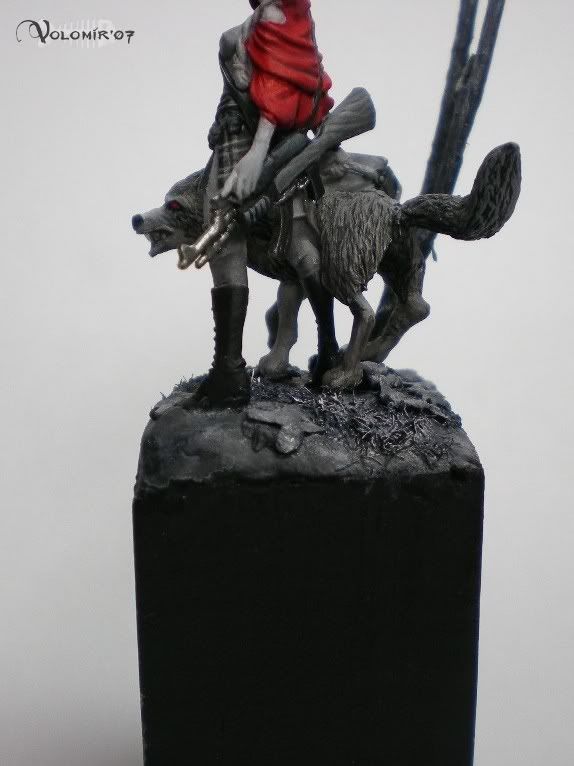
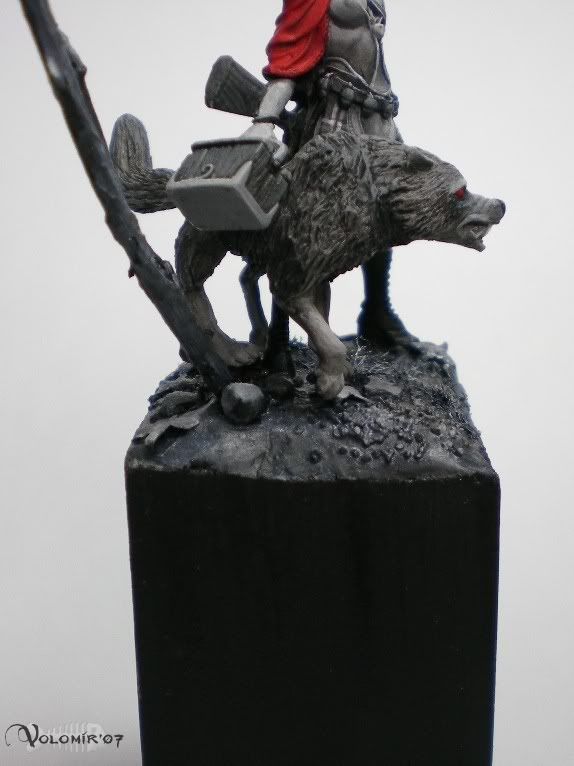
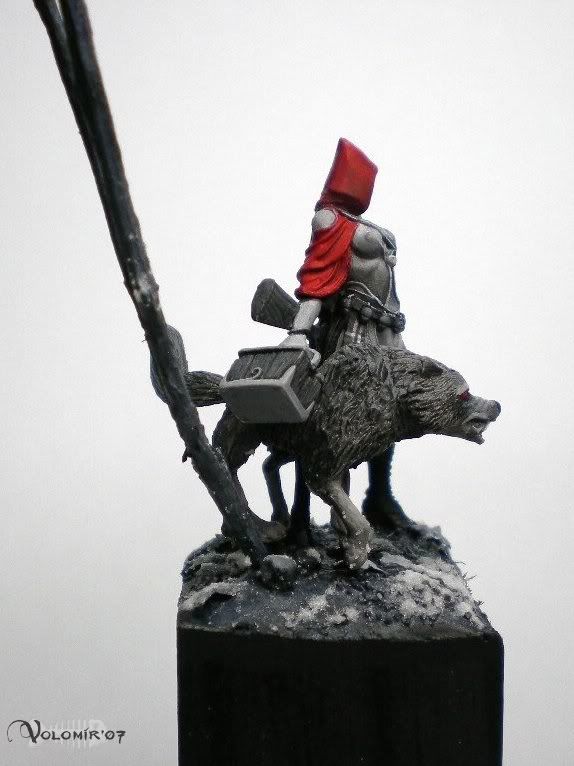
In this moment I paint the wolf, the basket and I give some shadows to the hood and the cape.

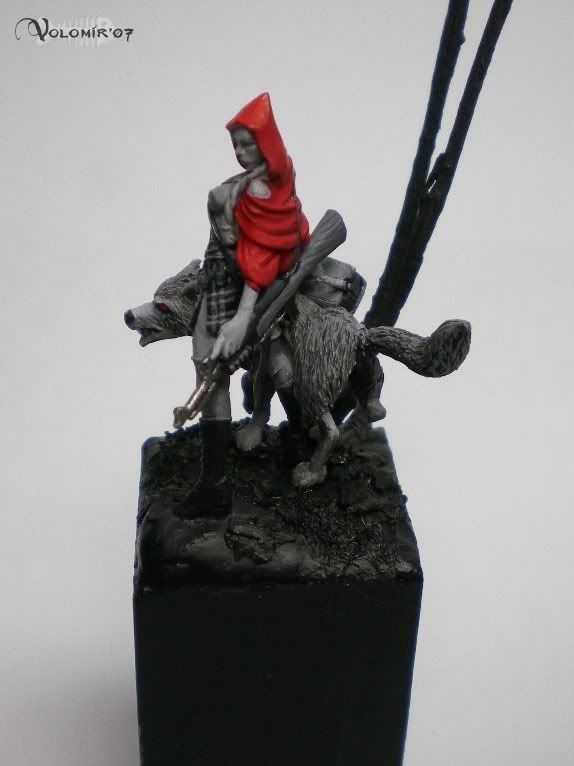

To finish off, some steps about the base. I began with oil coloures, but I found out that the black and the white which I had, when mixed left some blueish grey wich I could not use in this case. So, I went back to acrylics:
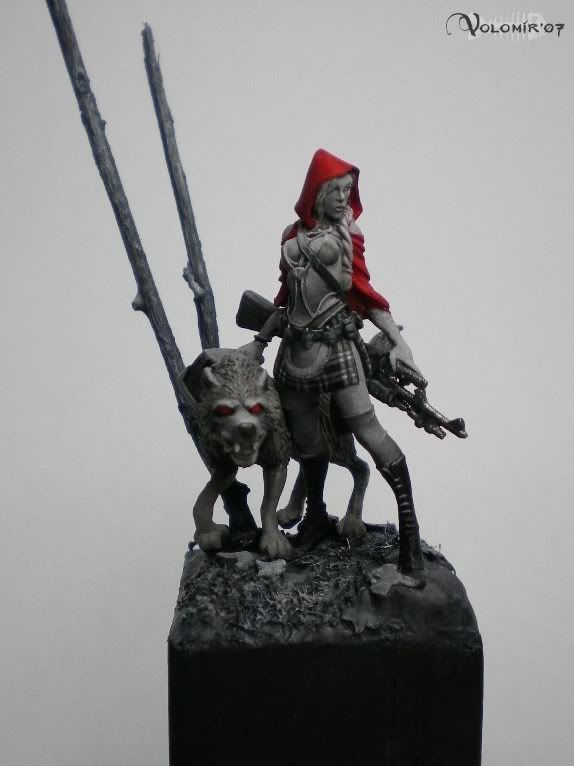
And the work is done!

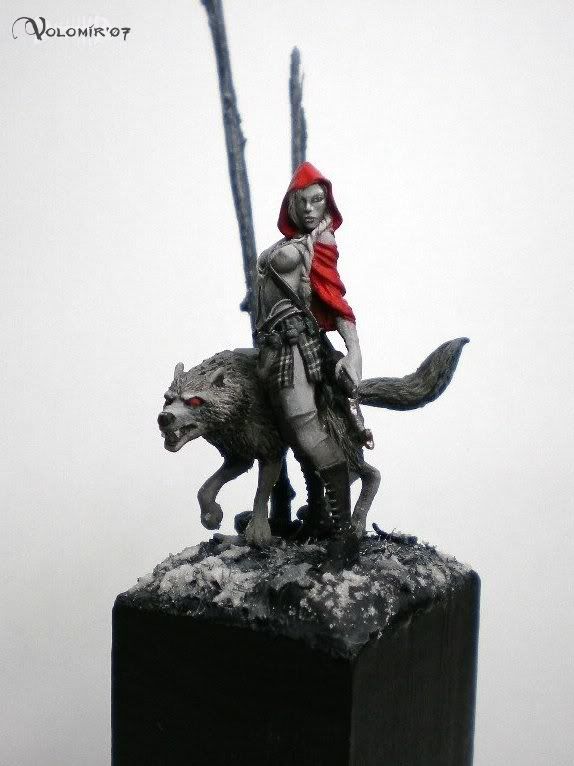

I leave with the good final photos in this link to the post about The Babe Wore Red: Final Photos
I hope you liked it!
2 comments:
Very Sin City, the Dame wore Red.
Blogger messed up and brought this one back to life! :) haha
Post a Comment