
It is an Imperial Fist, so I will be painting him in a scheme based in yellow and black. It is a Deathwatch space marine, somehow related to the Inquisition, thus the symbol on the left shoulderpad. This will be the chosen colour scheme:

Yellow is a difficult colour to deal with so I think this is a very interesting process where you can see how I deal with it.
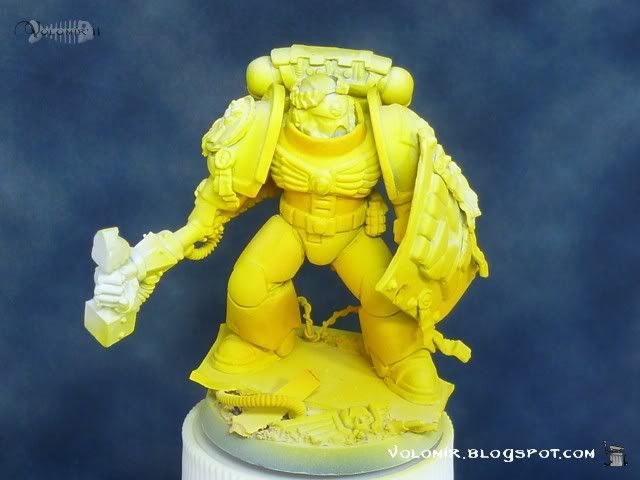
First of all, white priming with Gunze Sangyo flat white with an airbrush. The perfect way to prime in my opinion.

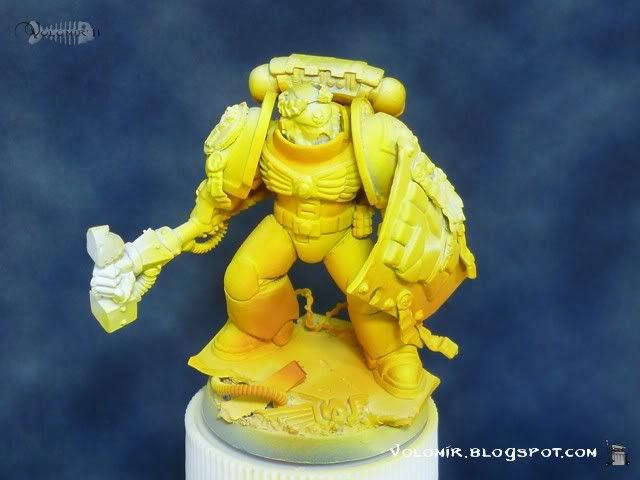
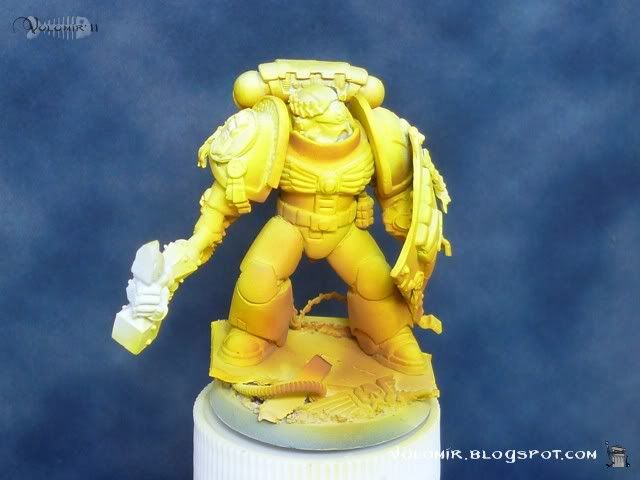
Now, first coat of sunburst yellow, the middle tone, by airbrush. I will be using the tecnique we call "reserving the lights". This means I will give this first base of yellow but not as a uniform coat all over the miniature. Instead, I will paint everything except the areas which will be in light, leaving the white coat which is underneath. This is based on the fact that lighter colours always cover better over other light colours, so I will get a brighter finish if I just paint lights over pure white instead of over a coat of the middle tone (base colour).


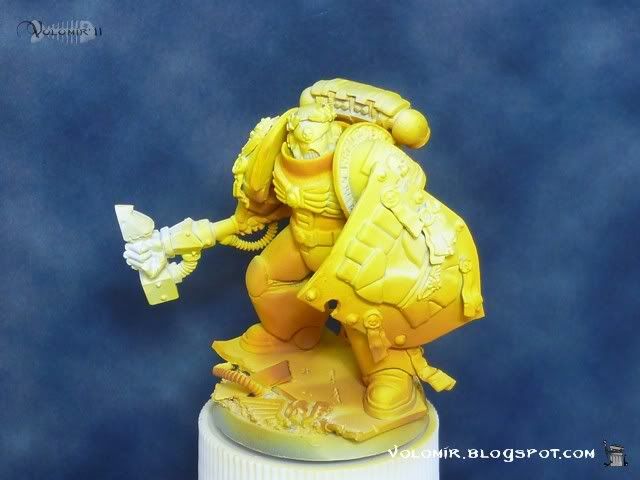
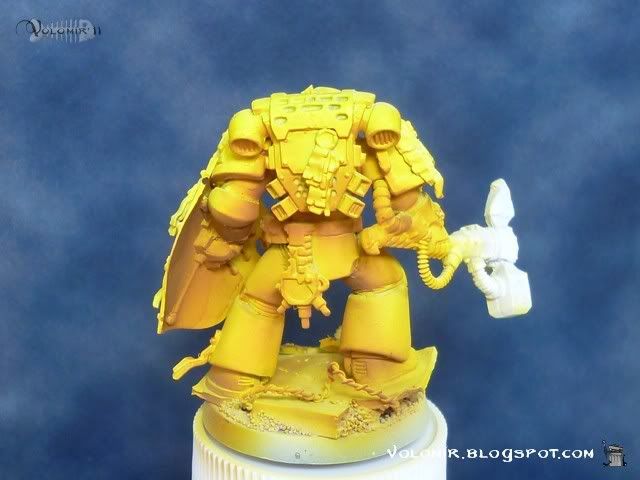
And after this, I'll start the shadowing process on the yellow, airbrush again. First, adding a bit of bestial brown to the yellow base.
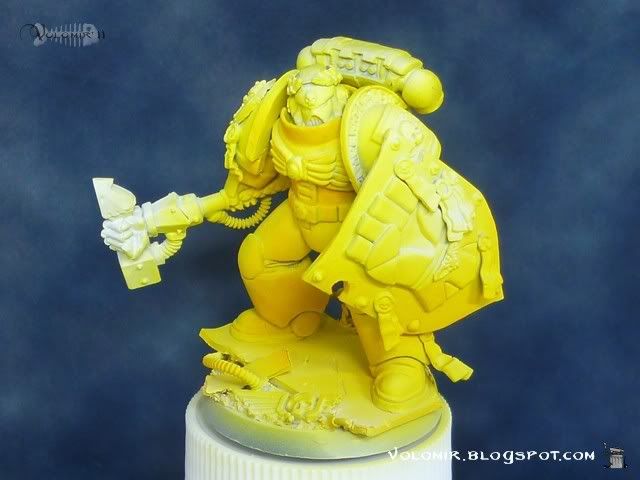

Second shadows with more bestial brown.
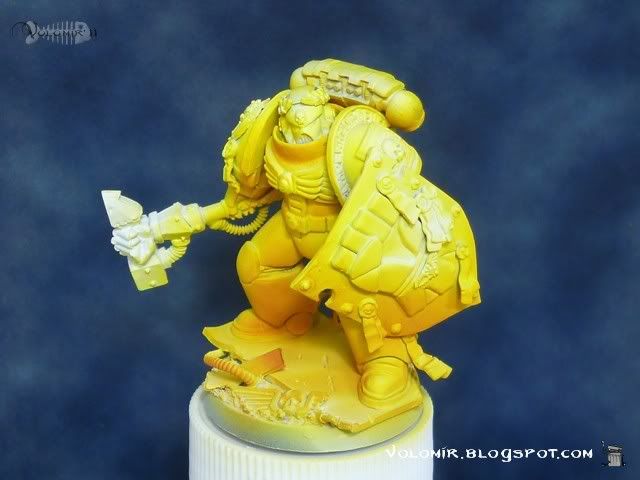
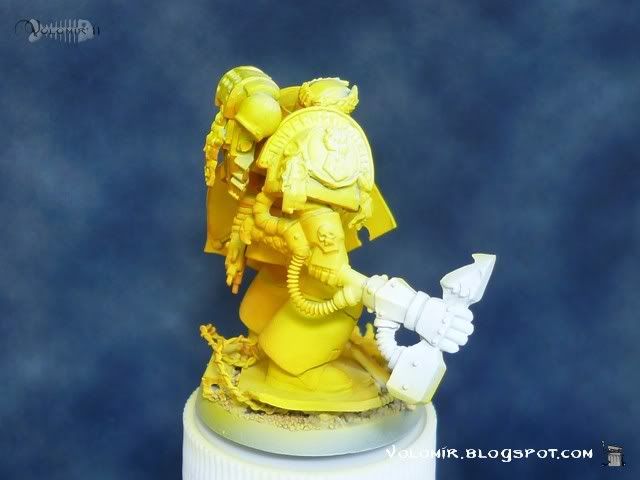
Last shadows with bestial brown adding a little bit of blue, but not too much.
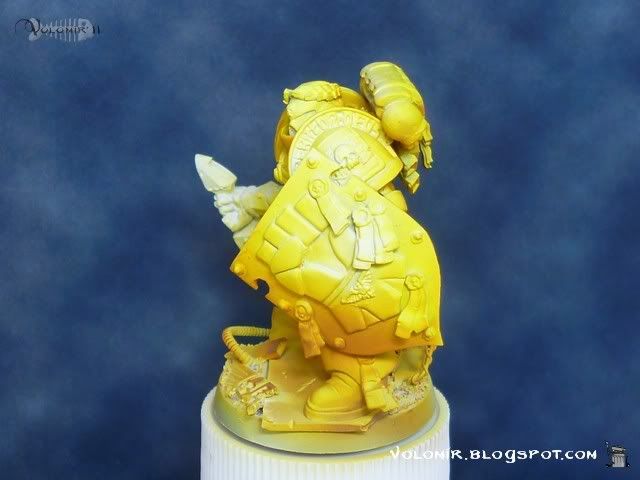
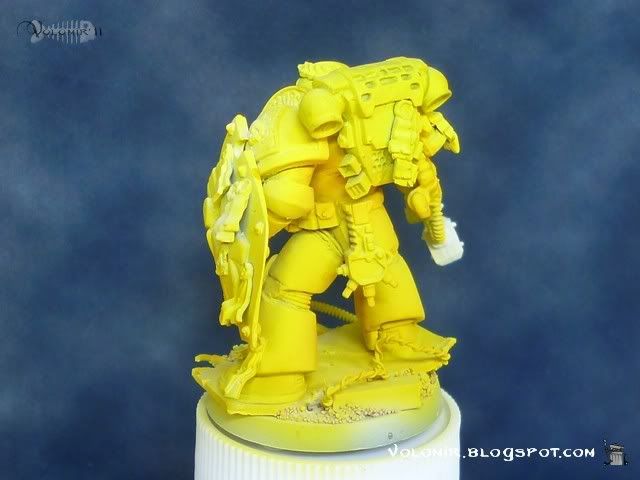
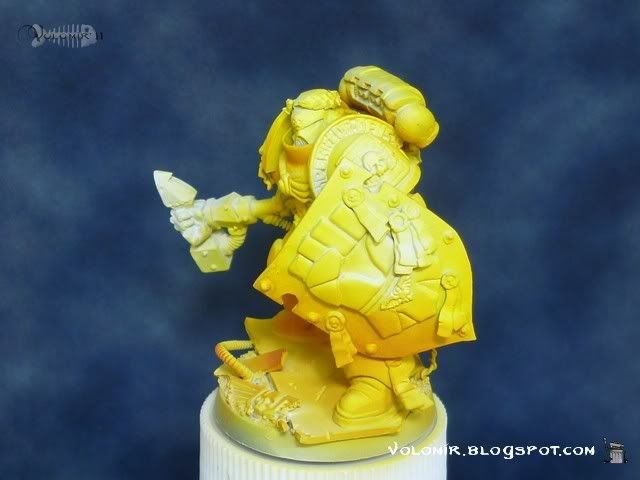
Once I'm satisfied with the overall yellow, I start working on the shield. Even if I am not satisfied entirely with the yellow, I would reccommend passing on to something else, because once the surrounding areas start getting some colour, we will probably see things differently. I want to paint the fist in the shield, in black colours. As it is a big surface, I'll use the airbrush again. So first of all, I'll mask the areas I don't want to paint, with masking tape and also liquid mask for the most difficult parts to mask.

I'll paint the black starting on the lightest colour and then going down progressively to the shadows. Again, this is because I find easier to paint lighter colours over white than over dark colours. So, airbrush in the lightest colour of black, which would be a mid grey to which I'll add a bit of sunburst yellow to ensure coherency with the rest of the miniature.

Adding some black to the mix, next step. This would be our base tone for the black.

Final shadows with pure black. I'll add a bit of blue to certain areas, with the normal brush, so that I add depth to the black.

And now I'll take the masks off.

Leaving the airbrush apart, I'll give black to the parts that will be in that colour. In this step I even give lights and shadows to the blacks in the chest eagle, with the same colour scheme I used in the fist of the shield.


And that's it for today. Stay tuned!
WIP Artscale Imperial Fist part 2
10 comments:
This is gonna be an absolutely excellent mini. Great work by Simon aka Master of the Forge.
Hi there,
Nice article! I've got one question thought. You say you make the primer using Gunze Sangyo flat white. Is it the acrylic one (mr.color) or the enamel one (mr.hobby)?
Thanks & best regards from switzerland!
dre4mit
Excellent - I've been waiting for this one - and glad you are doing a step by step!
What sort of psi do you use, and how close do you get to the mini? I'm curious as I use the airbrush for pre shading, and then cover the whole mini in the base colour, as opposed to using the airbrush for work on top of the mini....
Cheers
Lloyd
Thanks everyone!
@dre4mit: I dind't know there was mr.color and mr.hobby! I looked at my pot and I couldn't really find the answer, but I'm pretty sure I do it with acrylic. It would be this one: http://www.carminahobbys.com/blanco-mate-p-1-50-2973/
@Lloyd: I normally use the airbrush at 1.5-2 psi and the distance would be around 5 to 10 cm. As you can see I use airbrush for pretty much all the work in the armour except outlining and details which will be done afterwards with a normal brush
Solid piece of work so far, I have still to use an airbrush on my figs.
That's good to know - looking forward to the next part - I'll try painting armour instead of just pre shading during he Christmas holidays - thanks for the reply!
1.5-2 psi? That is really low. I think I might have found some of my issues.
It always seems to me that I have trouble getting the paint to flow at lower PSIs.
Oh sorry guys!! I made a silly mistake, I said 1.5-2 psi, but what I really meant is 1.5-2 bars! Which converted to psi is 22-29 psi.
SORRY FOR THAT!!!
Haha - I guessed it was bar and not Psi! I sometimes go a bit lower and it works quite well...
@Master Manipulator
I've never had any problems - I always make sure the paint is thin enough, though not too thin, and expose the needle of the airbrush to get a fine line if I need one (careful you don't bend/break it/stab yourself with it!) I just add a couple of drops of tamiya thinner to the paint, no matter which brand I use. You'll have to clean the needle off carefully doing this as there will be some paint build up no doubt!
For covering larger areas and getting a good coverage however, I crank up the Psi/bars!
Todo lo bueno para la Navidad ... y un año nuevo y bonito
Post a Comment