
This project started with the release of the Warhammer 40,000 boxed set (Assault on Black Reach). This box has an amazing number of miniatures and inside we find this cool Ork Warboss which I thought deserved some slight conversion to enhance its beauty.
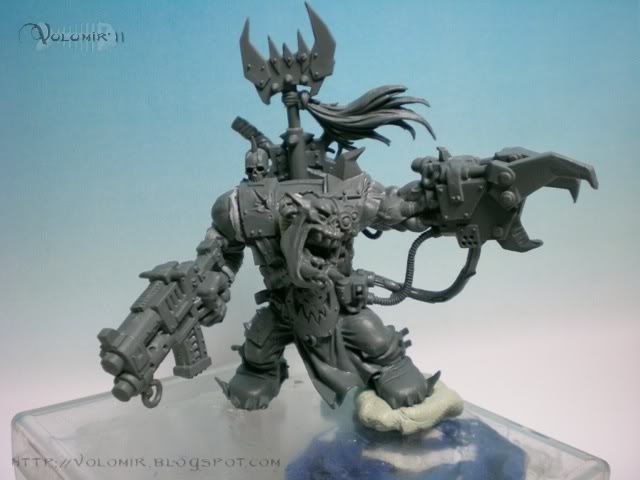
The original figurine is this one:

As you can see, the pose is very simple, the body stands straight while the face looks forward, the left arm follows to the left and the right arm holds a huge ork pistol, pointing to the front like the head. So the whole miniature could be decomposed in three perpendicular axes, more or less like the "XYZ" axes we use in three dimensional math representations.
Well, the conversion idea is pretty simple. We want to break the ork pose lines, we don't want this amount perpendicularity in our piece. We will look for a more diagonal approach, much more appealing.
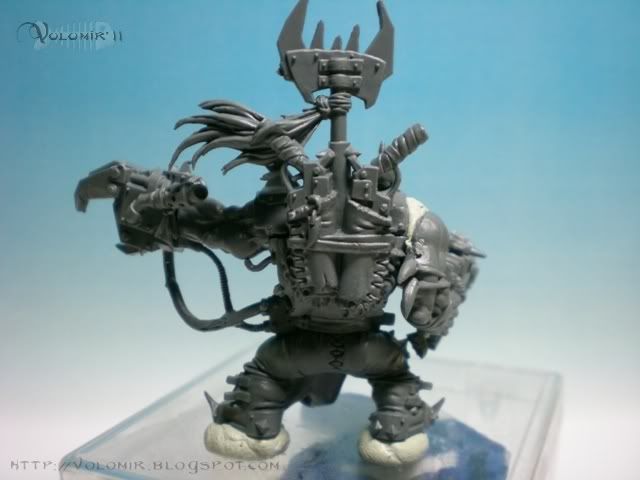
The figurine has 4 pieces, the body and left arm are a whole, and then we have the head, the right arm and the back holding the back pistols and banner. So my first approach will be to move the pieces which are separate from the body, specifically the head and the right arm. I will tilt the head to the left and lower the right arm, and by these very slight and easy changes I will break the 3 axes pose I was talking about.

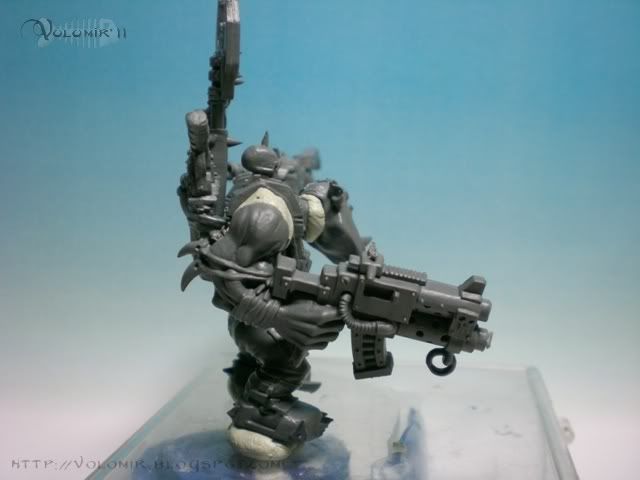

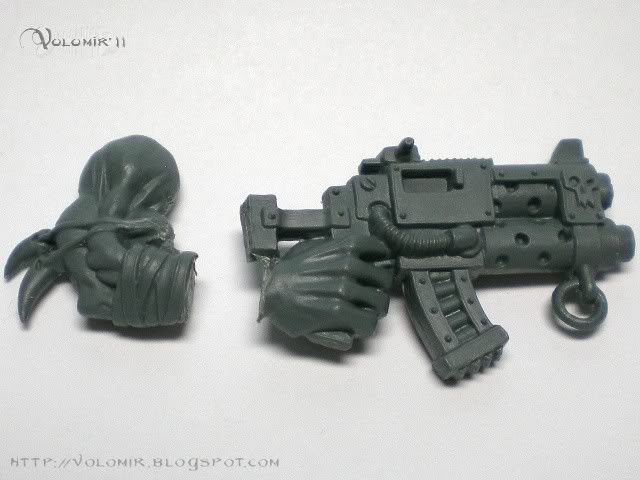
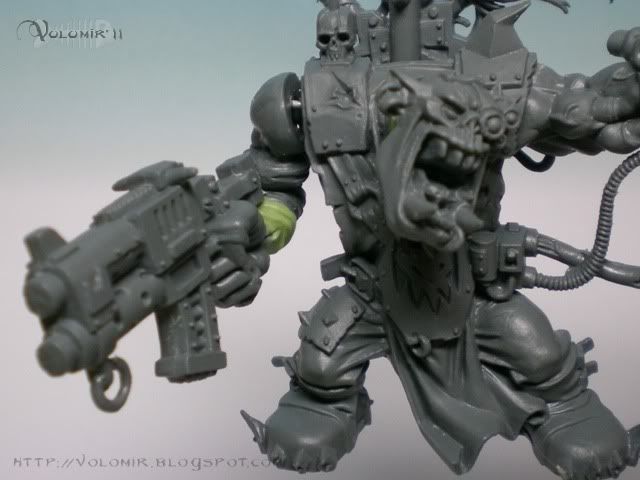
As you can see, the pose of the right arm is very unreal, I would have to use putty to create a false kind of muscle in the shoulder to move the arm so separatedly from the body. I can fix this just by cutting the weapon hand apart from the arm, and let the hand move to find the pose.

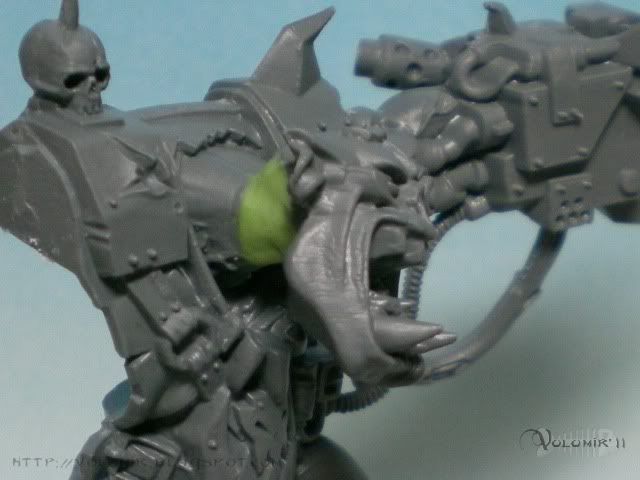
I am happy with the pose as it is, so it's time to do some fixing. A bit of putty on the neck:
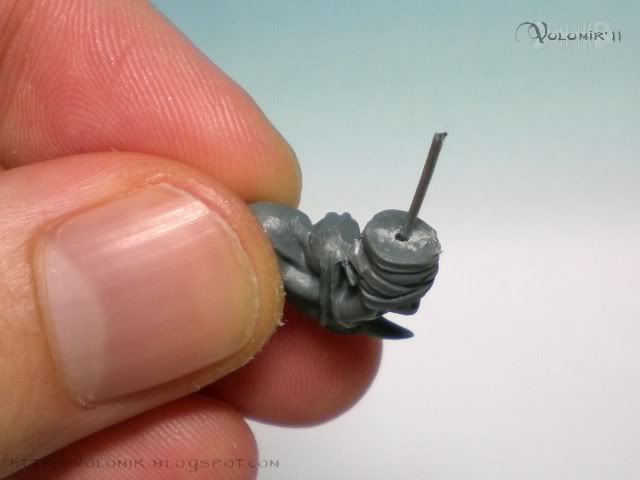
I drill a hole on the wrist to fix the hand and weapon position:
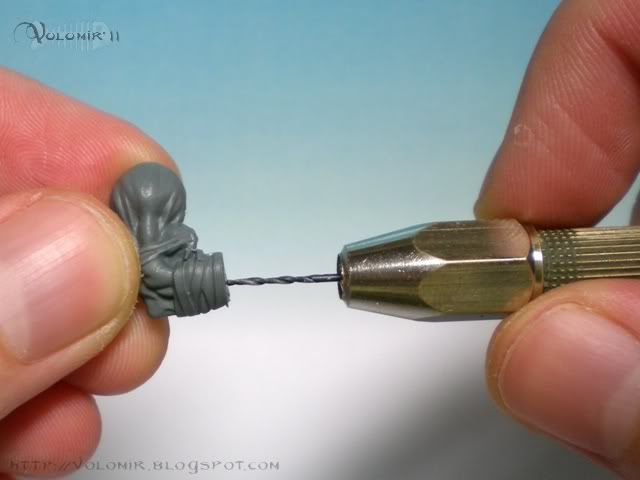
Pin it:
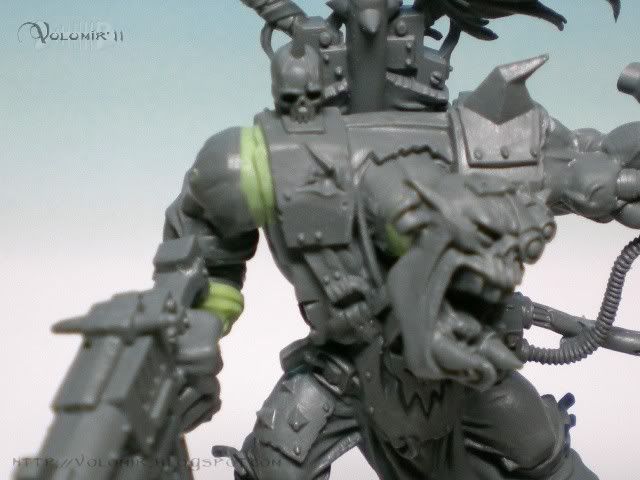
Then sculpt a decent union:

And the same with the shoulder:
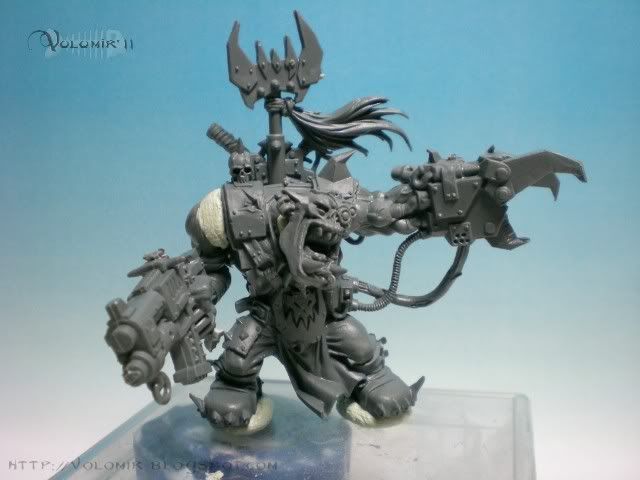
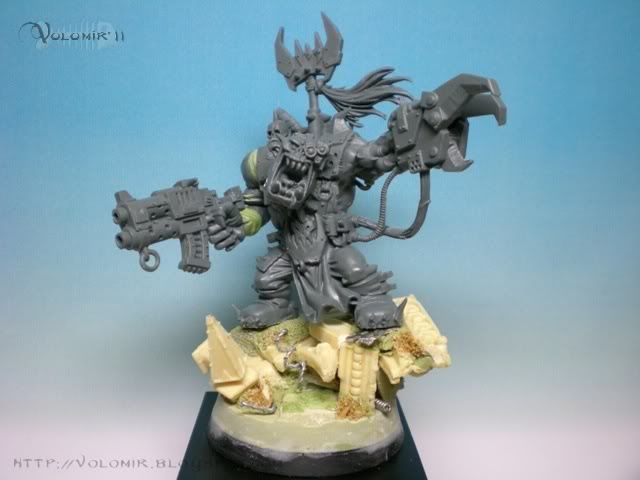
With this done, I see that I can also play with the body. The axis formed by the left arm and shoulders is parallel to the ground. I don't want that, I can also get rid of that ortogonality and make both lines diagonal (ground and arm axis). To do this I do not need to move the feet or any body part, I just need to tilt the whole pose by placing him on a slightly uphill base, like this:

Great then, I think that's it. Let's see the figure on a wood base:
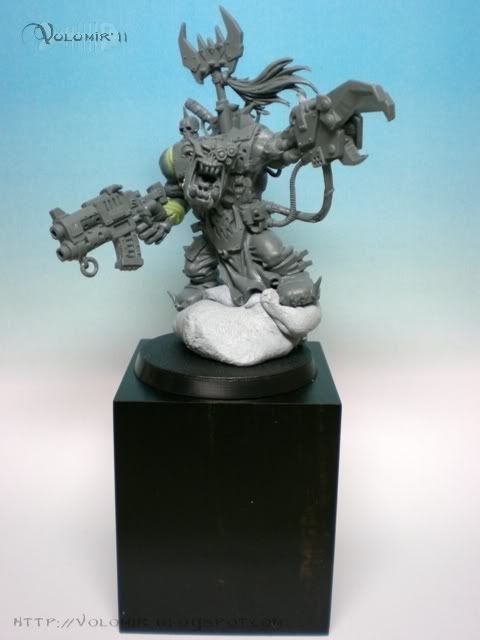
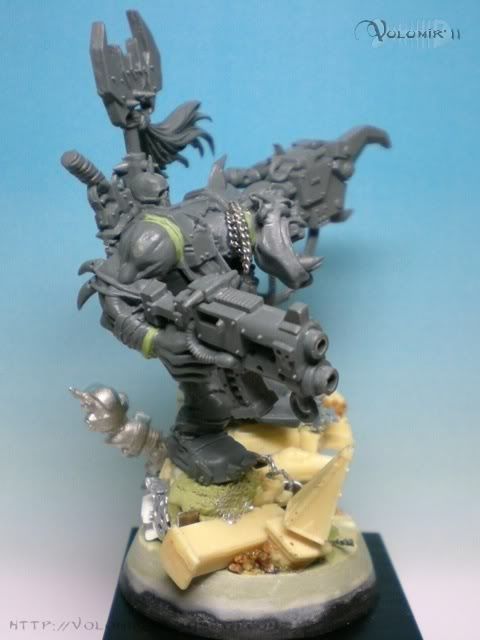
I like it. Let's go for the terrain. I want to do something similar to the Ork Nob I did long time ago, I will just glue together some city rubble, spikes, wire and dead space marine helmets. Altogether with some putty to ensure the feet of the ork are placed correctly and make the diagonal pose I want.

Let's see the Ork on top:

And that's it for now. Next on... a bit of colour!
4 comments:
As an Ork player, I'm really looking forward to seeing your work on this. So far, so good...the repositioning of the model makes a big difference.
Coming along very nice :) Looking forward to seeing more.
Wow, were working on the same model at the same time!
I love your conversion work, it subtle but great. It improves the model a lot. I have only done 2 minor conversions.
I'll keep an eye on this...
Cheers,
Seb
Really nice WIP Volomir. I really like this orc and you've done a great job reposing him. Interested to see him with colour on.
Cheers
Will
Post a Comment