
Second day of the Dragon Week: Don't forget to check my Facebook Page for teaser images of the finished Dragon. One every afternoon during the Dragon Week!
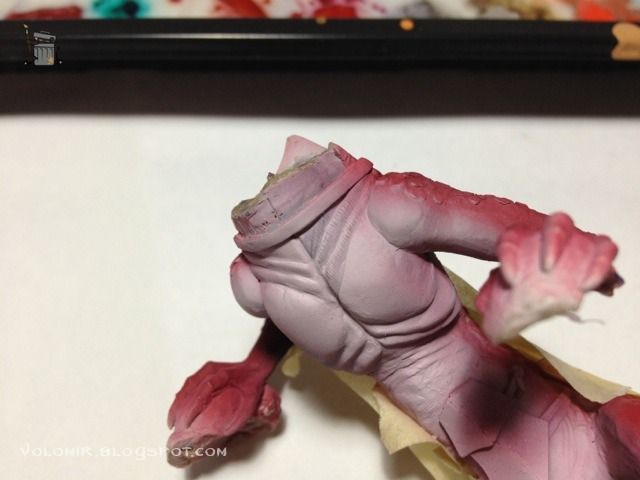
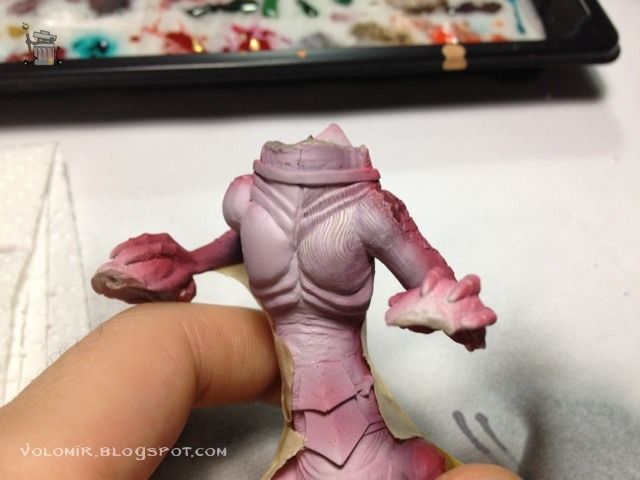
So let's start the painting on the Dragon. Here's the lower part of the body. In my first approach I thought of painting it all red, basically Red Gore from Citadel applied with airbrush.
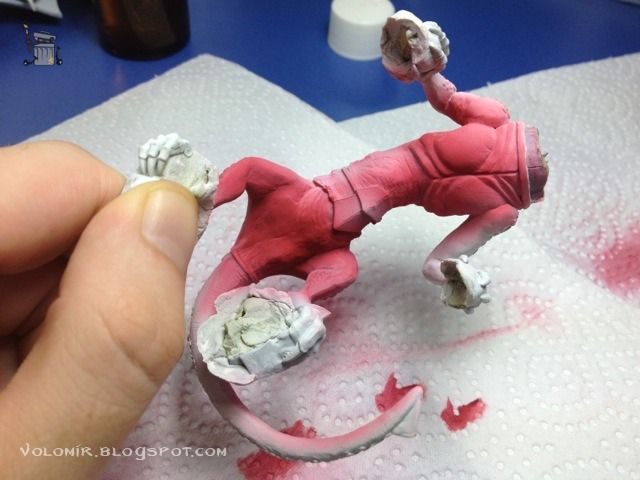
The upper parts would be left in white so that the lights on top of that priming colour turn out to be brighter.
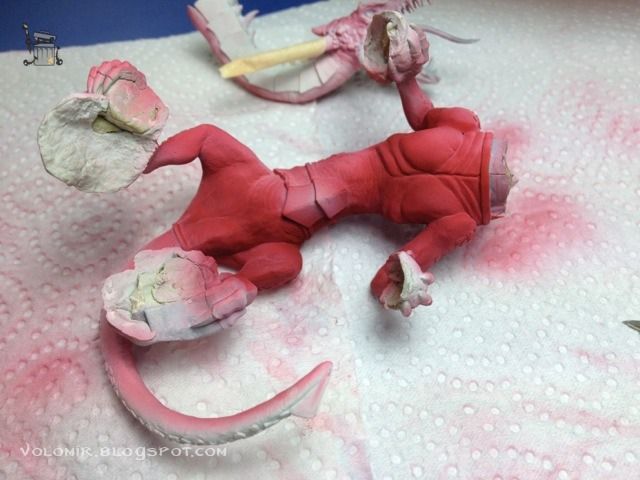
But in the end I decide that I actually want a lighter lower part of the dragon, in the same way many lizards are like. Also, notice the popcorn tree on the water? You might have guessed that this was the first base version, the one that was destroyed.
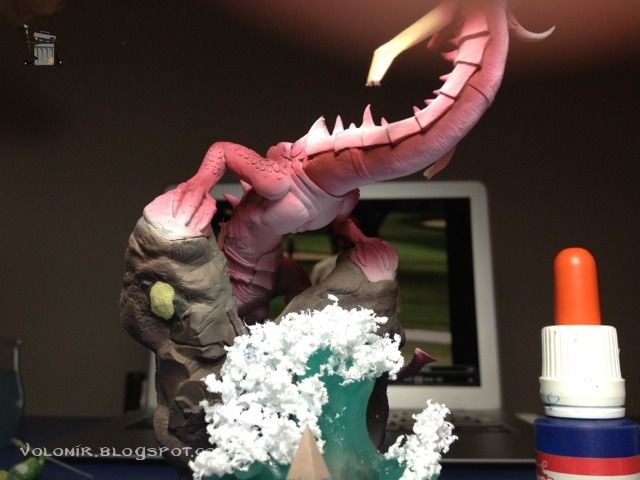
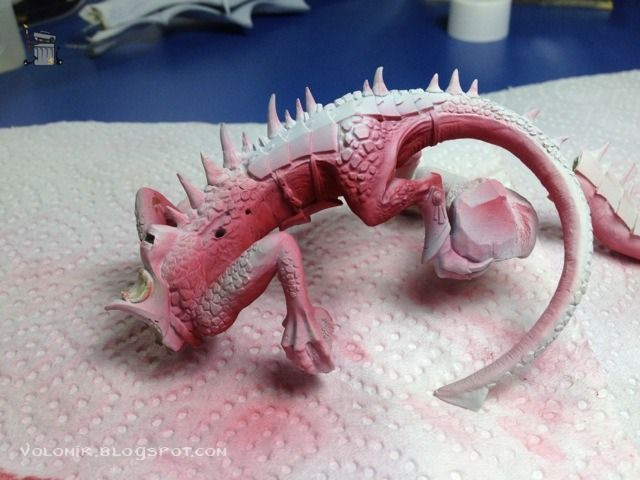
The colour seems right. I will also try it on the wings.
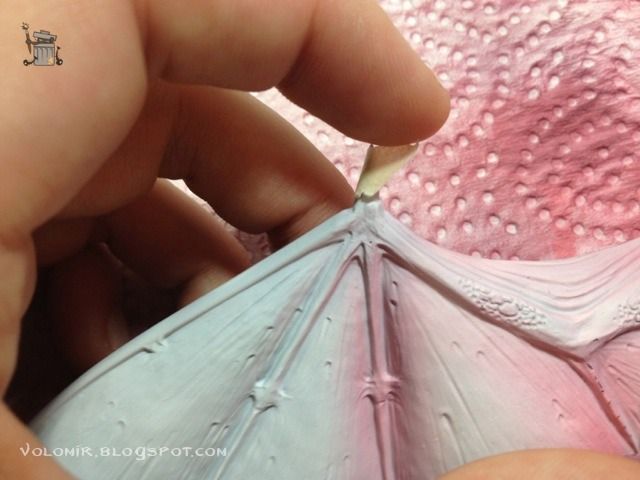
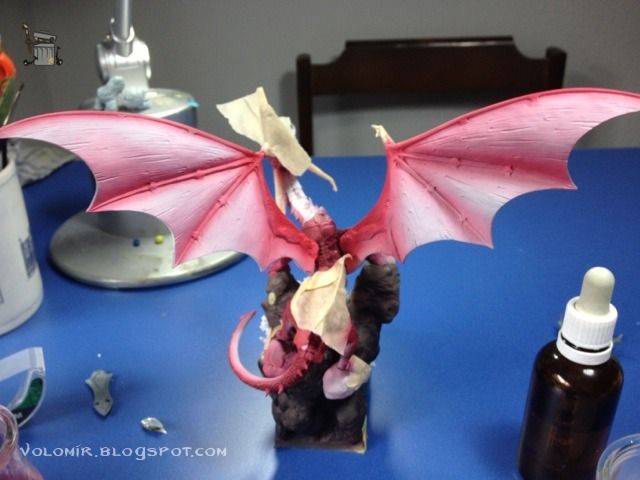
I leave the lighter parts of the wings in a lighter colour.

Here's how they look with the dragon. I think that this is way too bright, especially because I want the rider to be the main character, not the dragon. Anyway, I will go back to this later.
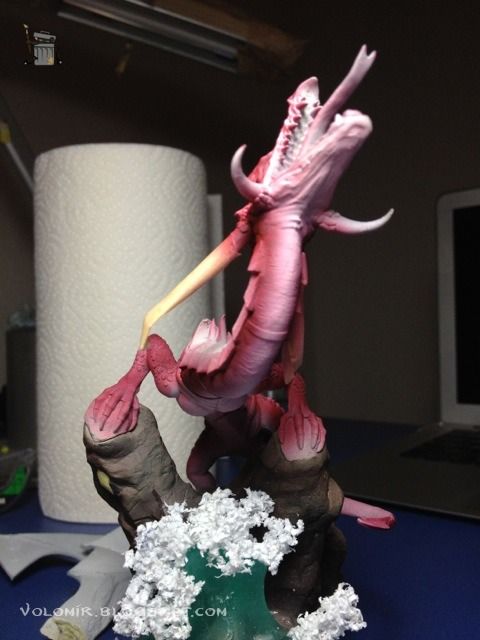
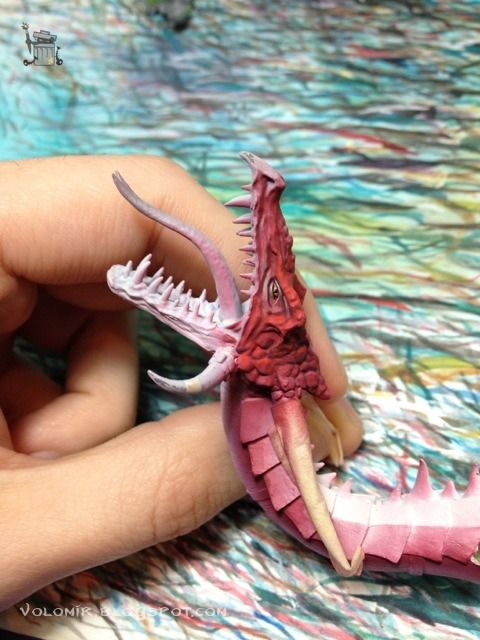
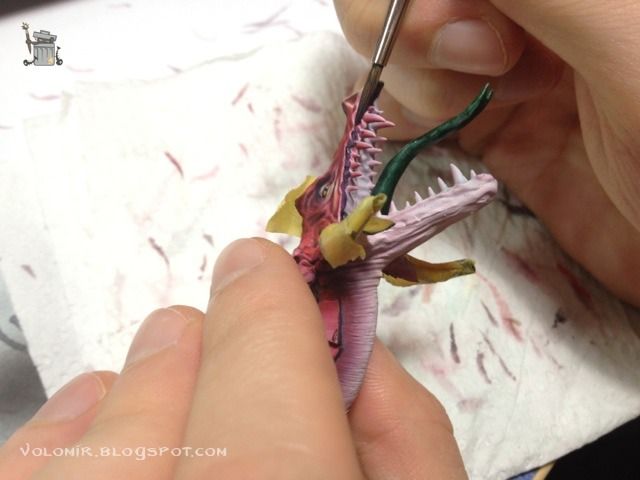
Let's start the painting on the head. Same way as the rest of the dragon, airbrush in red, leaving the lower parts in white.
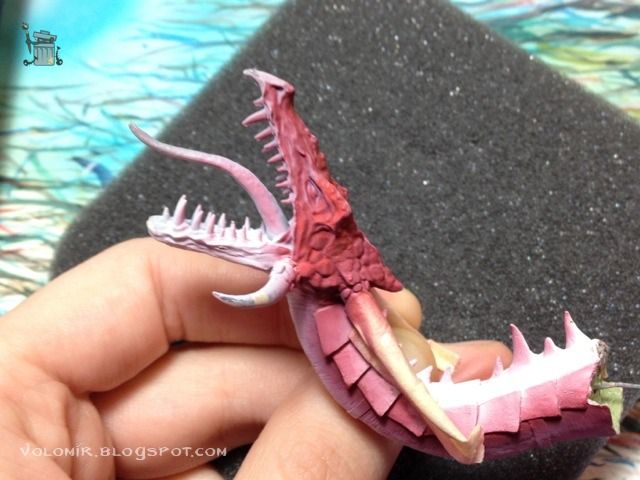
This project is very big, I'm not used to painting monsters. I'd rather start finishing parts and then go back to them, I'm a bit lost in the process. I'll do some brushwork in the head. Eye painting and red highlights.

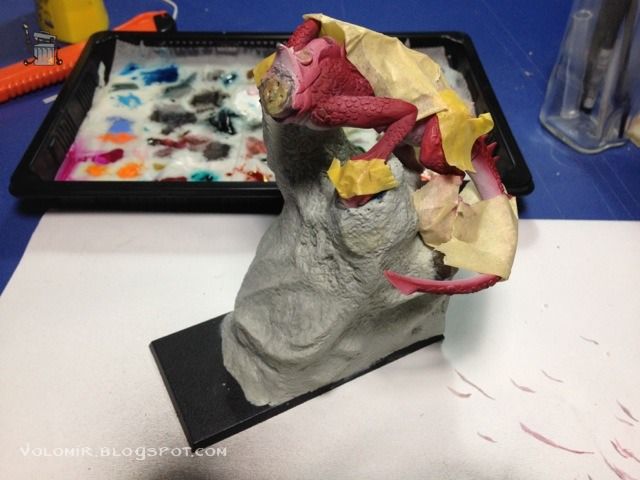
Ok, the head starts to look good. I really like it. Let's pause for a moment and go back to the base. After all the mess, we will have to create a new one. I will cut the upper part of the old base and use it in a new one. This will prevent me from making the unions of the paws to the base again, which is a lot of work.
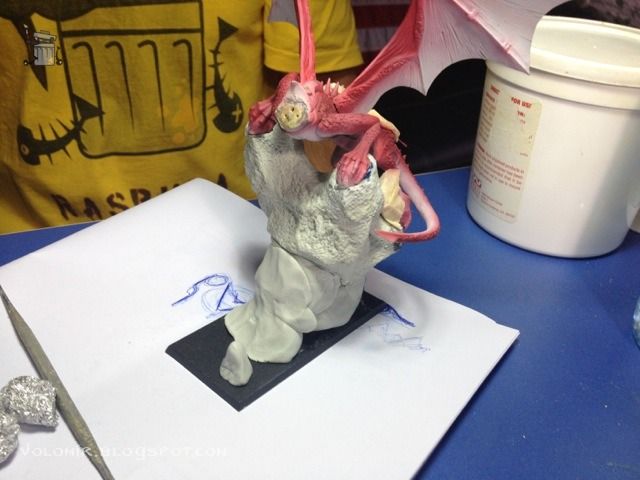
I will just have to worry about the height and tilt of the dragon relative to the ground.
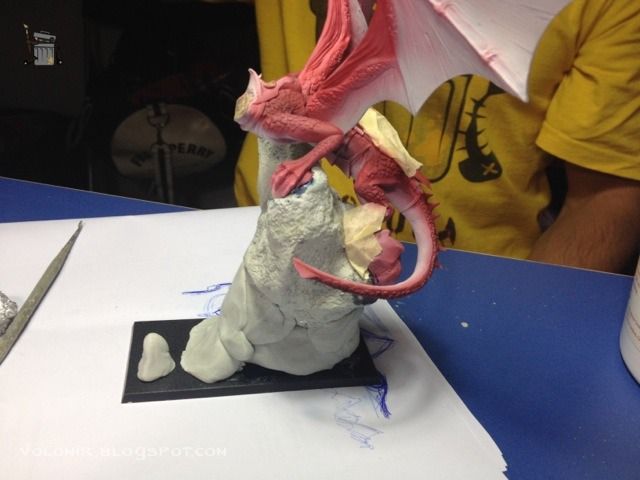
Once that is right, texture to simulate rock is done by using aluminum paper, squished into a ball, and used as texturizer for fresh putty.
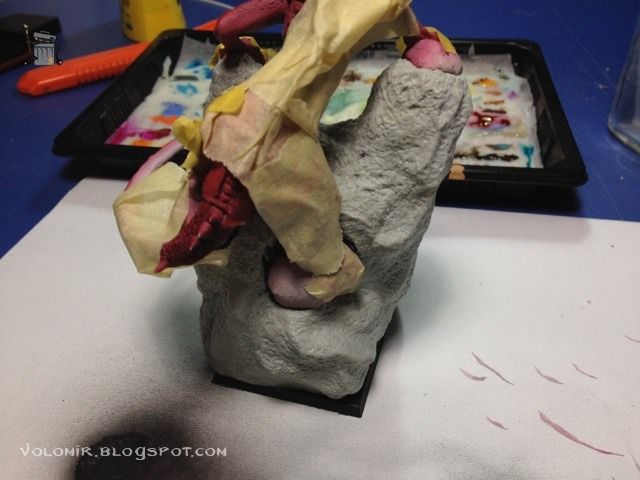
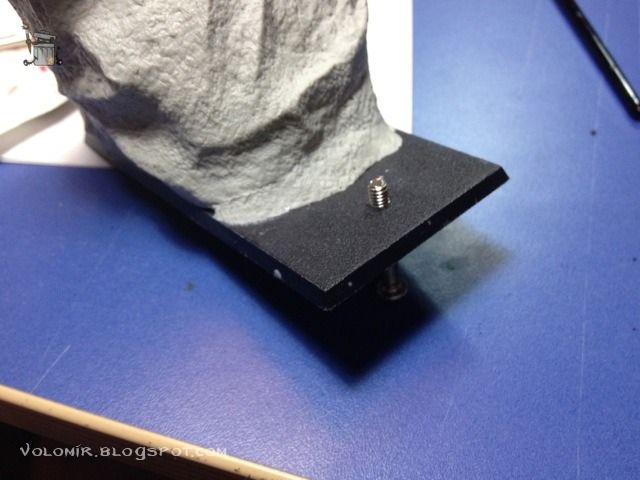
Using so much Magic Sculpt increases the weight of the figure exponencially. It is going to be difficult to glue to the base, so I will do a drill for a screw so that this is less problematic.
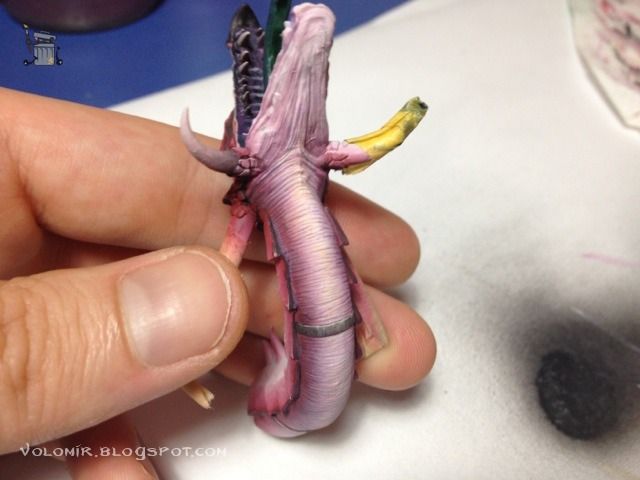
I'll go back to painting the body now. The lower part of the chest seems tricky at first. It's a completely flat surface, so I'm going to perform some nice texture by using freehand lines.
I think this pattern is really interesting. Pity this is the lower part and won't be very visible once the dragon is posed on its base.
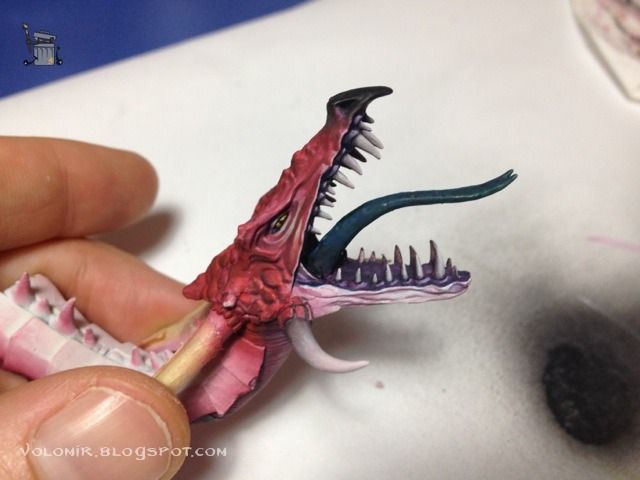
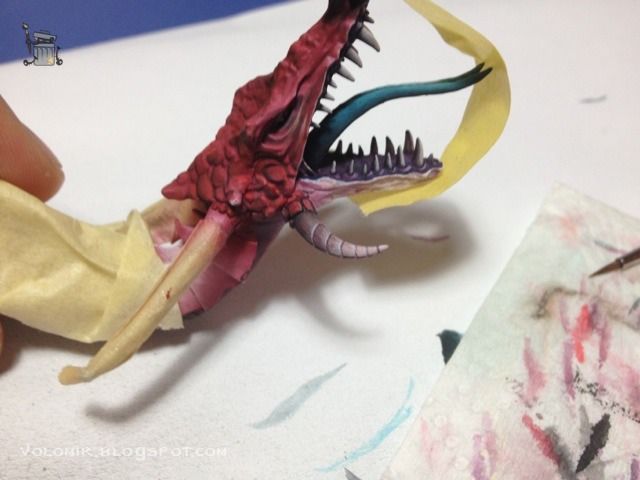
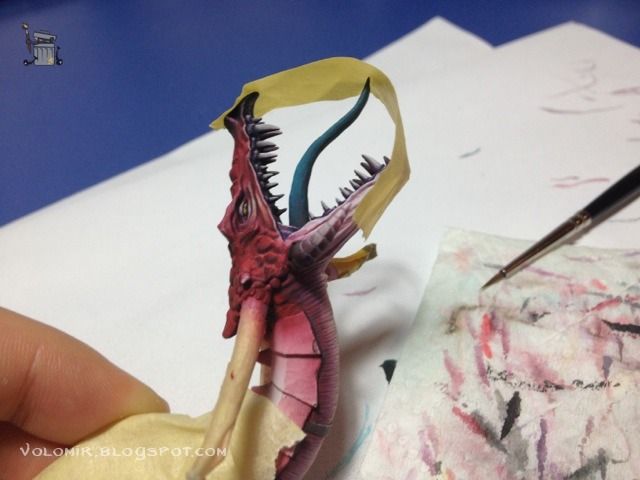
Painting of the mouth is vital to define all the volumes in the head. Before doing any work there, I will put a background purple colour for the inner part of it.
The head rocks with those outlines.
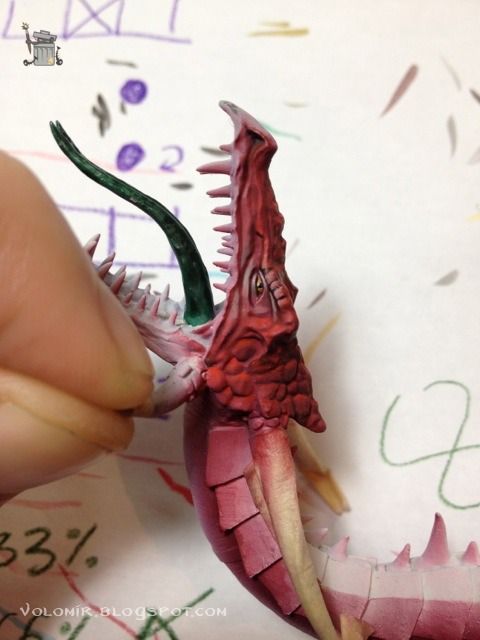
The neck is also one of those tricky parts. I try to replicate the same pattern used on the chest.
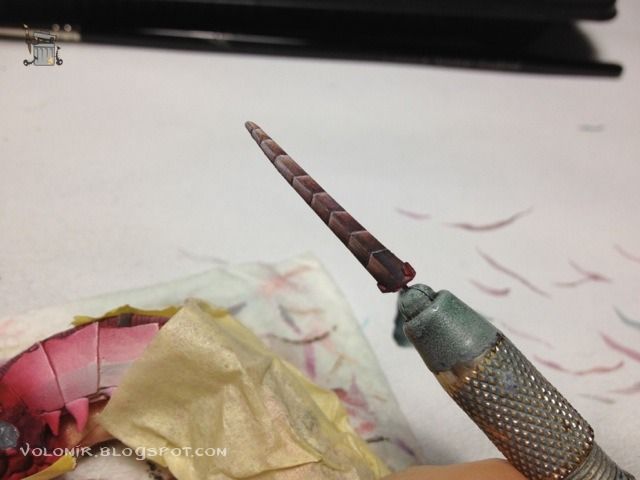
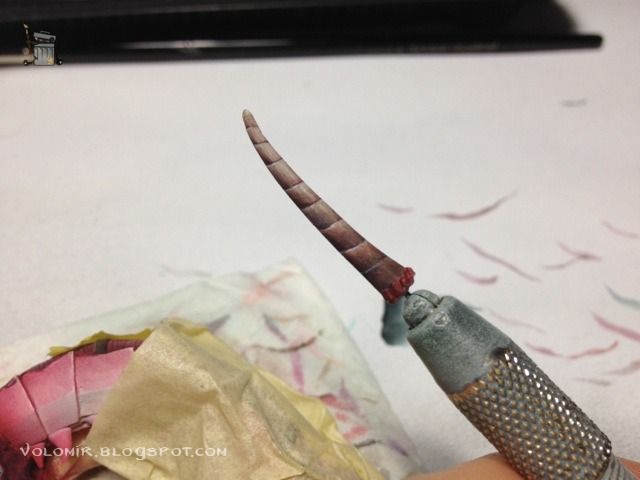
The horns are another of those parts which are flat and dull, I experiment with them by breaking them into little segments and giving them an interesting texture, while at the same time making a gradient from a darker brown to a light bone colour.
And also the lower part of the horn is also different. The pattern resembles some kind of non metallic metal.
Both horns completed.
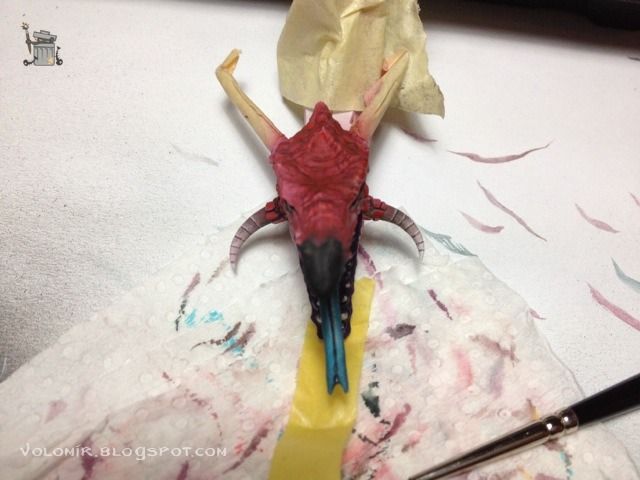
The same is done on the horns of the back of the head, and these are way longer.
Continue to WIP: High Elf Dragonlord Part 12
4 comments:
yeah.. can't wait to see it fully painted, will be awesome...
nice idea about the freehand lines ...
I SHARED & ENJOYED your post :)
NICE!!! I can give you candy if you want! :P
Awesome to see this come together ;)
Post a Comment