
Last day of the Dragon Week: Don't forget to check my Facebook Page for the last teaser images of the finished Dragon.
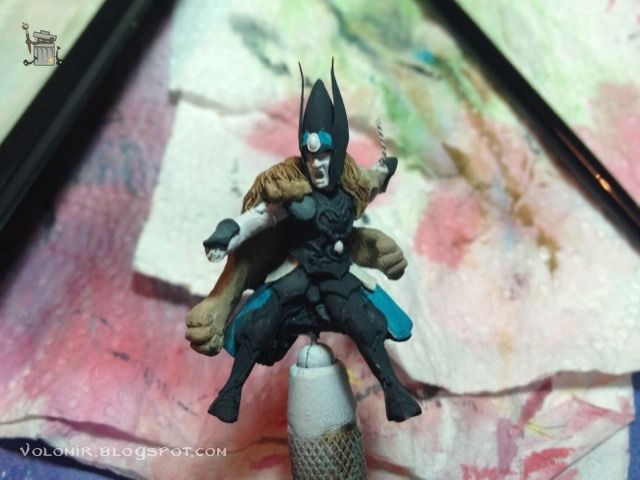
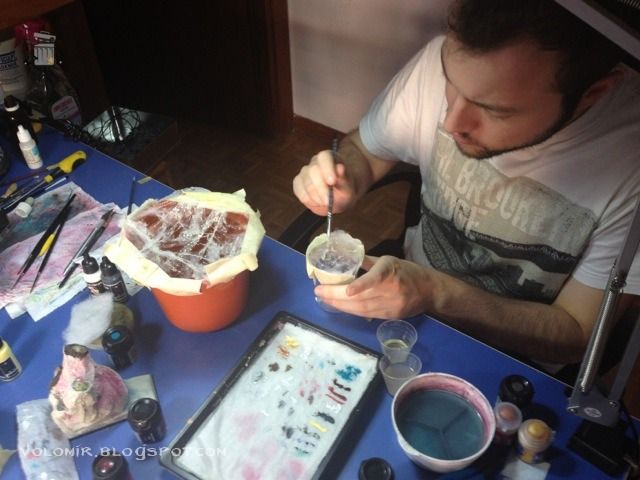
It's finally time to paint the rider. First of all, I will prime it white. I prefer this kind of priming because the rider should be the main figure, and white will make everything glow more intensely, thus making it more eye catching.

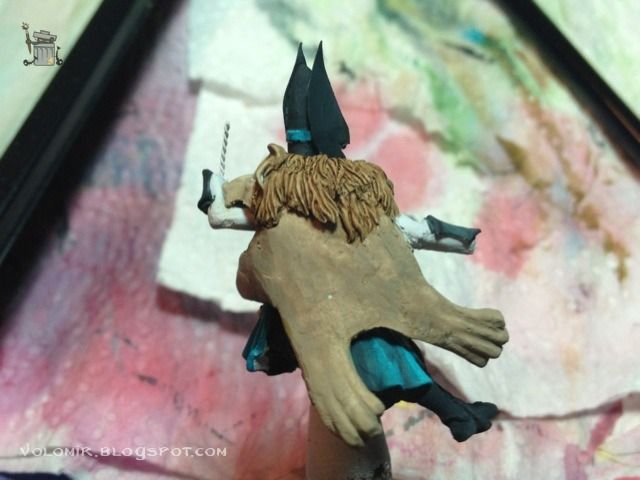
Everything that will be metallic will receive a basecoat of a dark blue sea, and I also put all the other colours in place to see the overall effect.
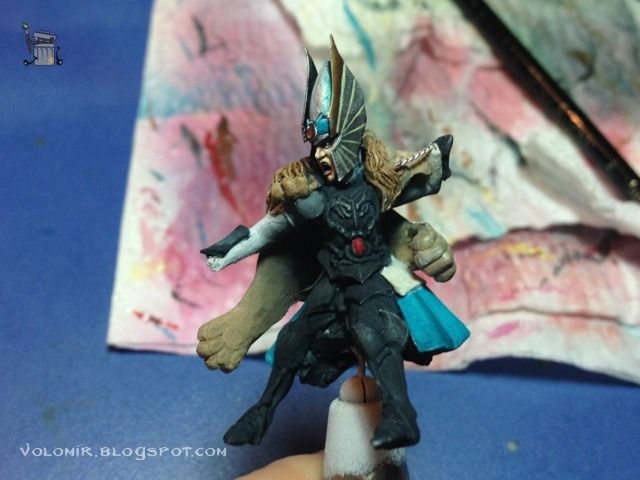
The face is one of the most important parts of the whole scene. This is what I will concentrate on first. It requires a lot of attention and care, we need to make sure that the expression of tension is maintained, and that is not an easy task. The painting of the eyes is key to this task, we need eyes that are slightly closed and tense, and this is not easy because the eyes are scratchbuilt so the surface is not very smooth.

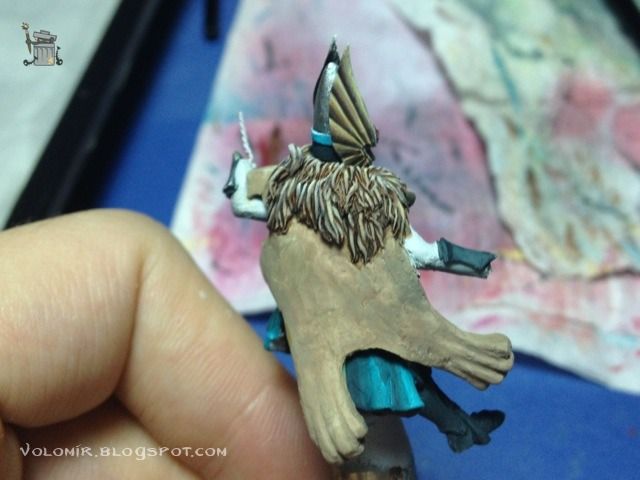
The winged helmet is also a very interesting area. I will paint it in a similar fashion as the one in Tribute to the Fallen.
It is trying to resemble a metallic pattern using matte paints and some final highlights with gloss and metallic colours.
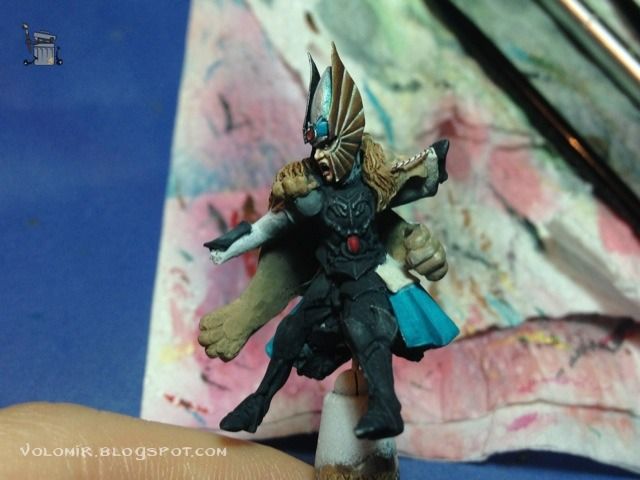
This is the final effect.
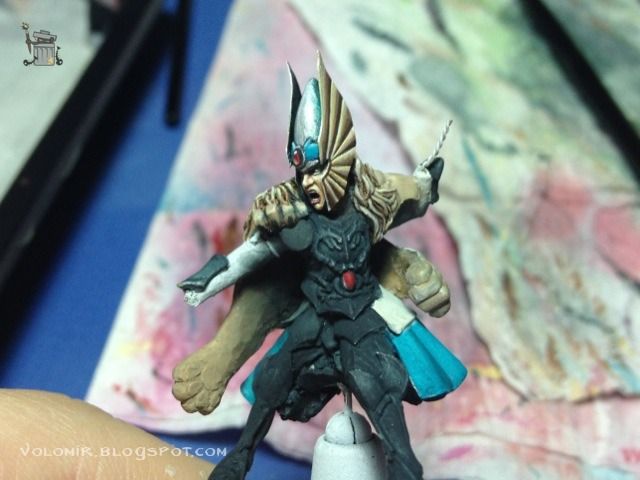
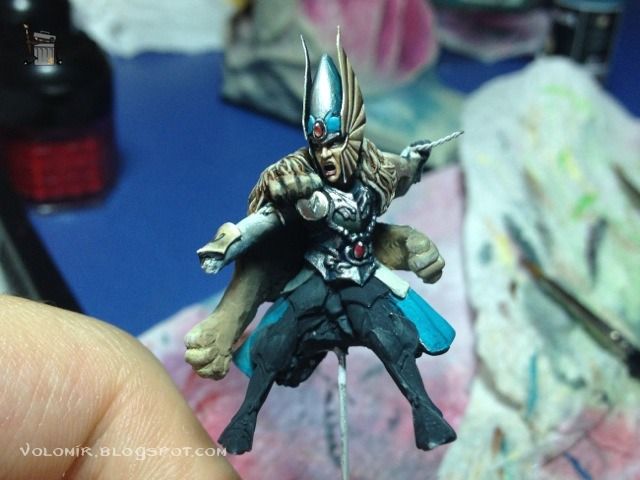
First metal on the armour. Basically my normal metallic approach. The rider starts to pop out.
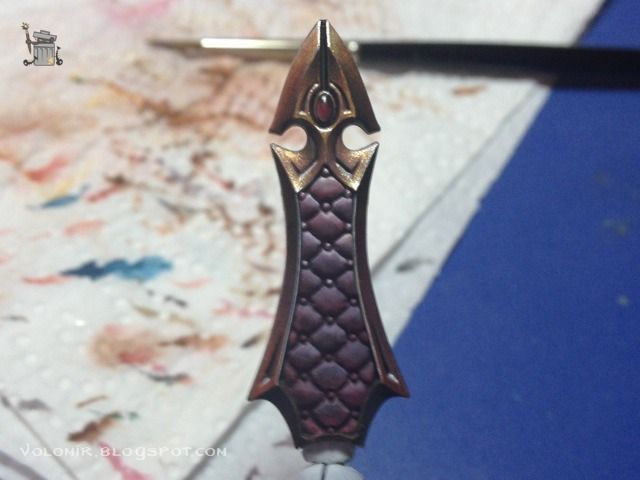
The chair-throne will also be in metallics, but golden this time. I used metallic paints and purple for the back of the chair which is made out of reds and blues used in the dragon.
The other side is completely flat and uninteresting. I decide to do some kind of conceptual freehand, by raising the purple to nearly white on the top and to dragon scales on the lower part.

Time to start work on the base now. It's the third time I try water, but this time I have no option to fail. I will use water splashes made using the same process that Mr. Christian Petit, the french watermaster, uses.
Using thin fibers, stretched out and splashed with water resin, once it is cured, they resemble little water splashes.
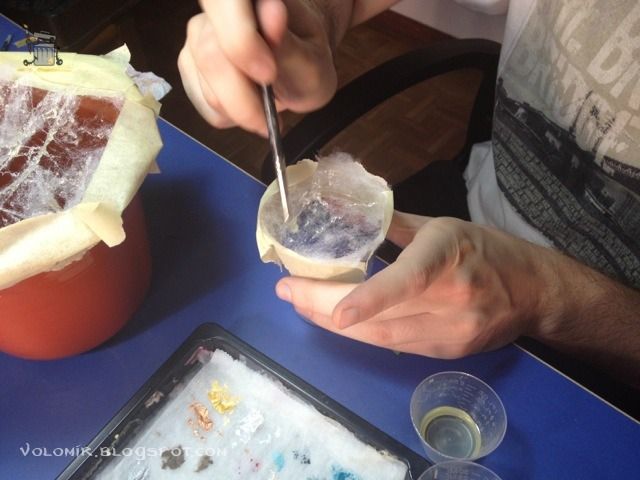
This is one of those water splashes. There is still fiber that needs to be removed, but the effect is really great.
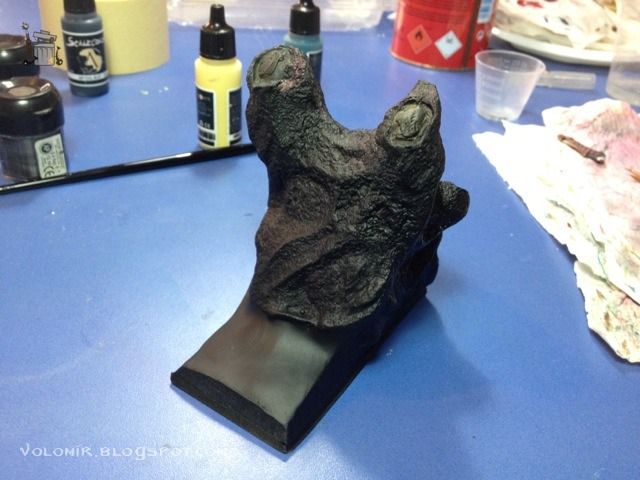
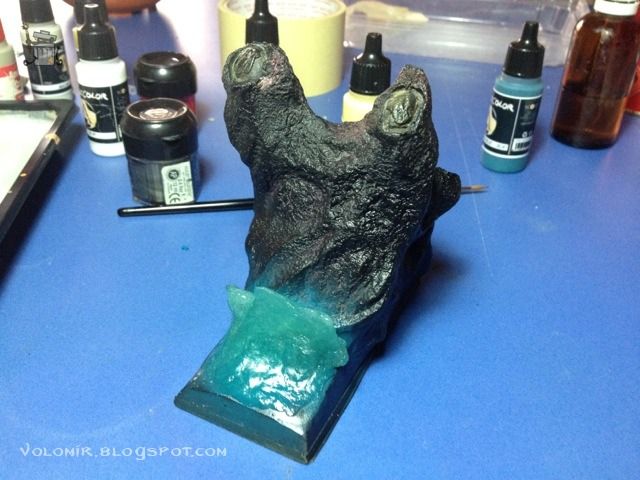
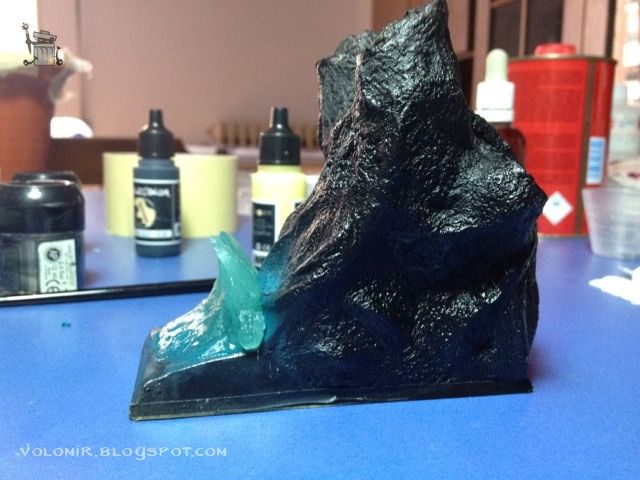
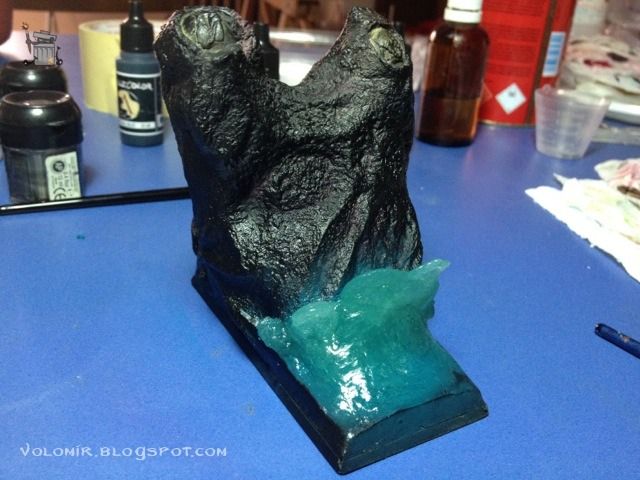
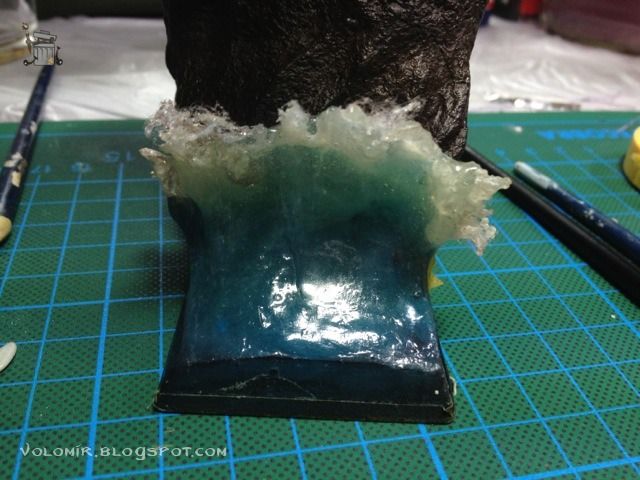
Before I start creating the sea wave, I will paint the sea floor, so I will prime it all black.
My friend Jorge (commonly known as Tupperware) knows a lot about sea waves, so he made some graphs for me to help me understand how a wave behaves when crashing on a rock. That should help me build a better wave, more realistic.
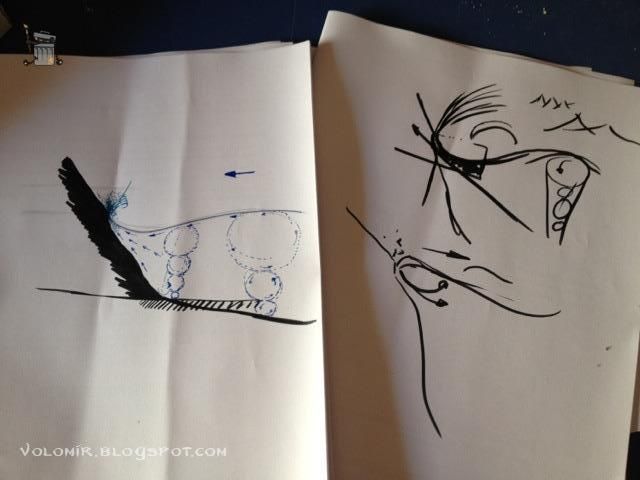
With his indications, I model the first approach to the wave. This water resin modelled will serve as the basepoint.
I need to check if the curl is right or not, that is one of the most important parts of the wave.
I check both sides.
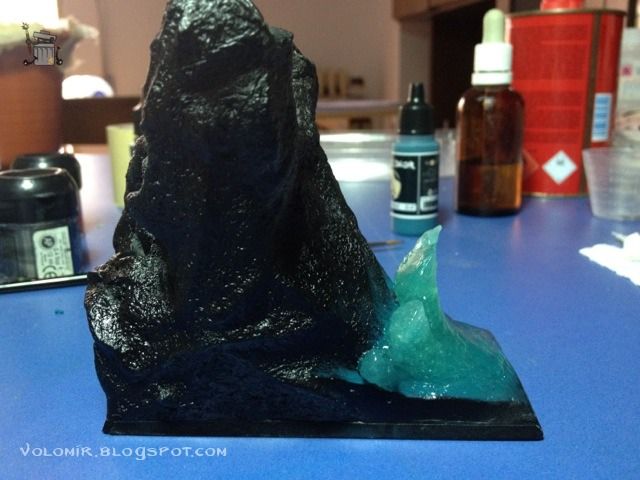
The blue on the rock is not because the sea is glowing. It's turquoise residue from the airbrush work before I put the wave in.
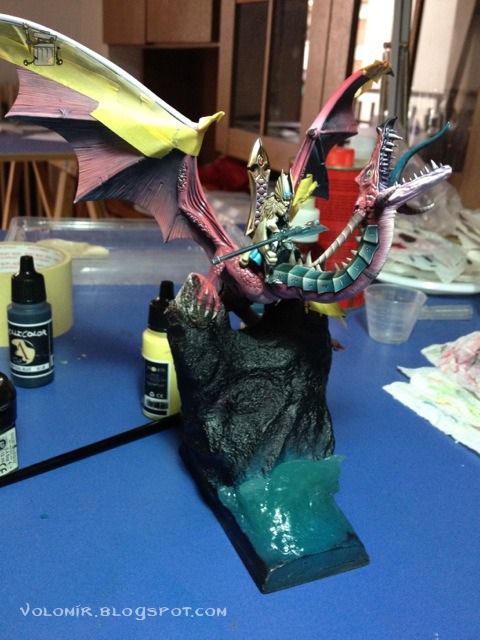
Here's how it all looks with the dragon on top.
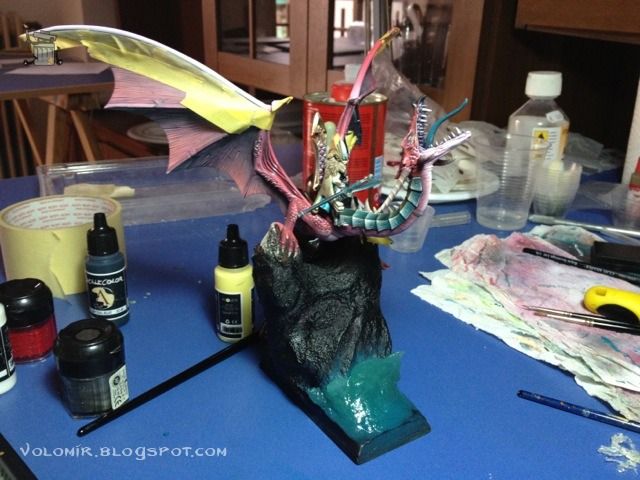
I think the turquoise of the sea works well with the metal job and the red of the dragon. Also, the black priming of the base helps see the colours much better.
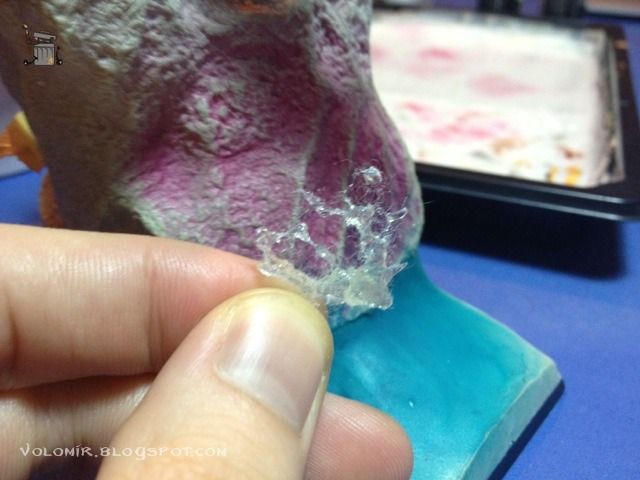
The splashes will go on top of the wave, stuck with superglue.
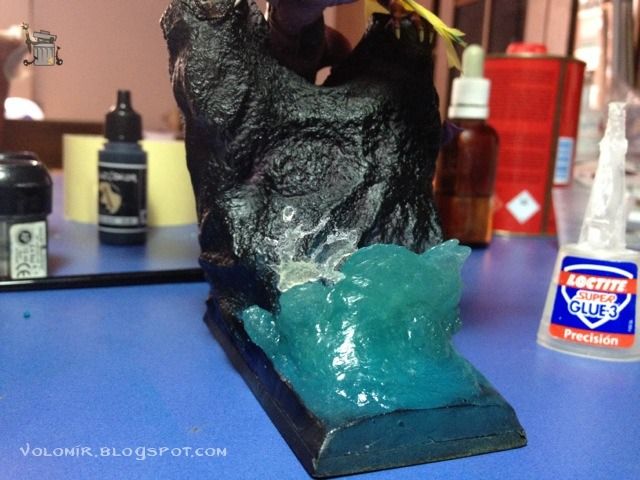
At this point, time was running out very quickly, so I couldn't stop to make photos that often. The sea wave was completed using more layers of resin on top to even out the difference between the water splashes and the blue wave.
These are the last photos of the WIP! Once the wave was done, I glued everything to the base, and now that the rider was fixed, I could start working on the reins. First with an entire chain.

Getting the right amount of tightness and grip was no easy task!
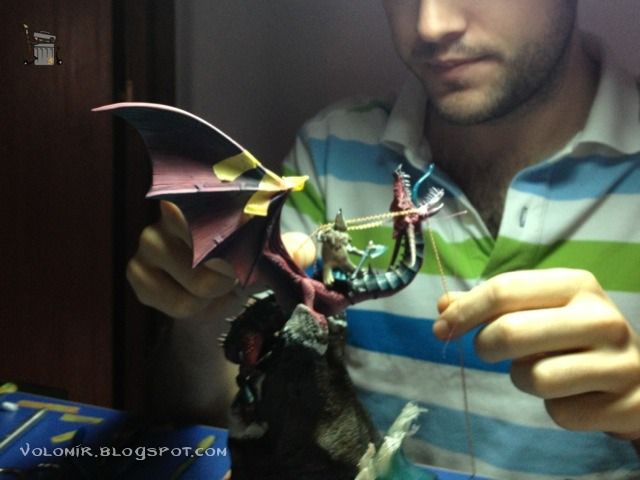
To put the chains in place I used trings attached to the ends. Much easier to manipulate than the normal chain.
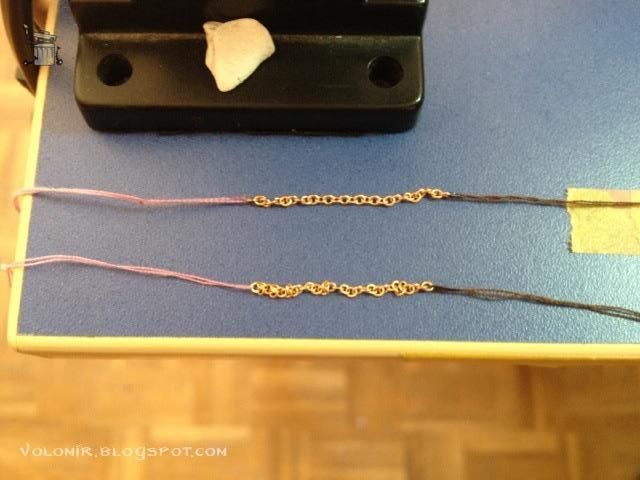
Using chain for all the rein proved really difficult, especially because the hand could not grip the entire chain. I decided to add leather to the back part of the rein. Much more natural. I used tin and green stuff to make the lower part of the rein.
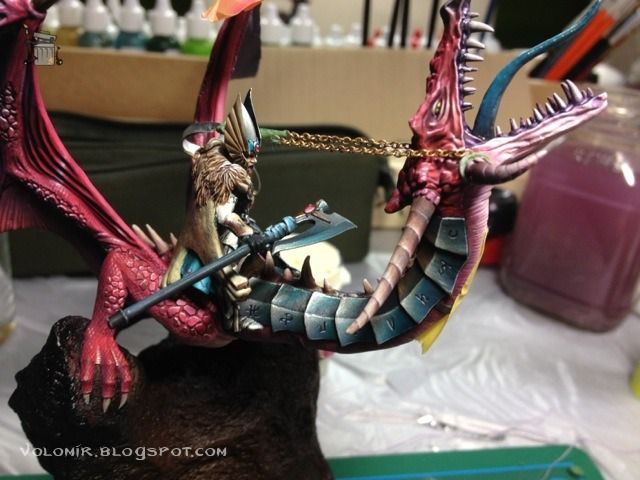
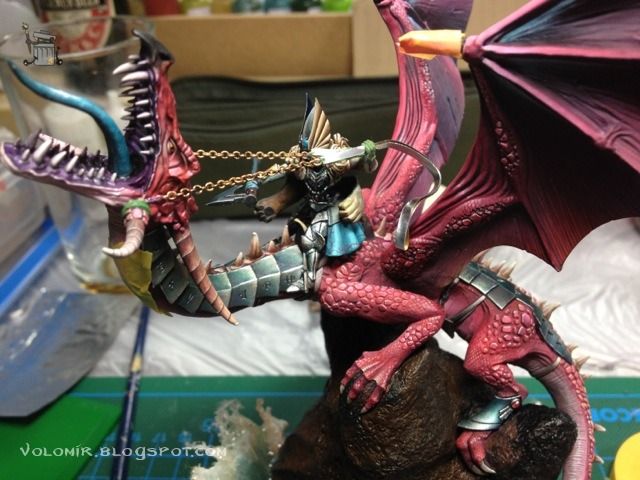
With the rein in place I modelled the hand. That was no easy task, I tell you. At this point I realized how tough was painting everything by separate parts. The dragon is really big!
This is how the wave looks seeing it from the front view. Still lacking the polish work of sanding and black priming of the base edges.
So the only thing left now is the base. I had to finish it just in time before the contest, so I couldn't make photos of the process. But I have proof of this last minute painting!
Thus ends the WIP article. That was all folks! Thanks for reading all of these months, it's been really long but it was very well worth it. Stay tuned for the final photos of the dragon and the full roundup of the Step by Step article!
May the dragon be with you all!
1 comment:
Incredible! congratz with the golddemon!Well deserved.
Post a Comment