
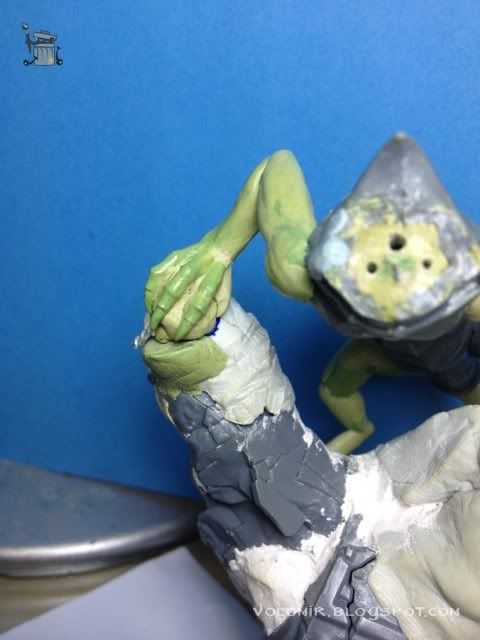
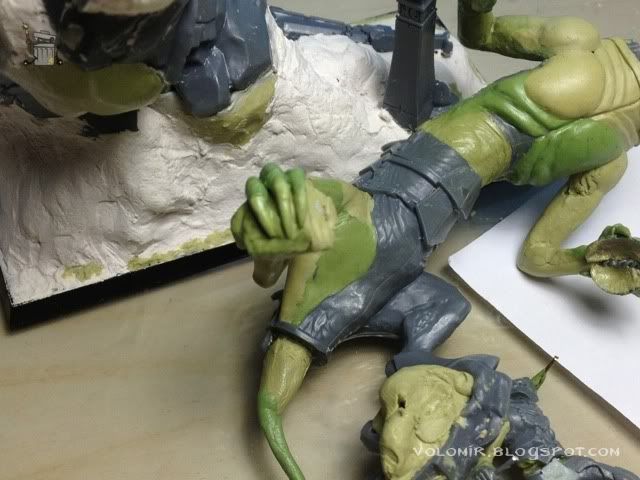
Now I'll start sculpting the hands (or claws, whatever you want to call those). First I do a rough approximation with putty to have a basic idea of how it will look like and where each element will be positioned.
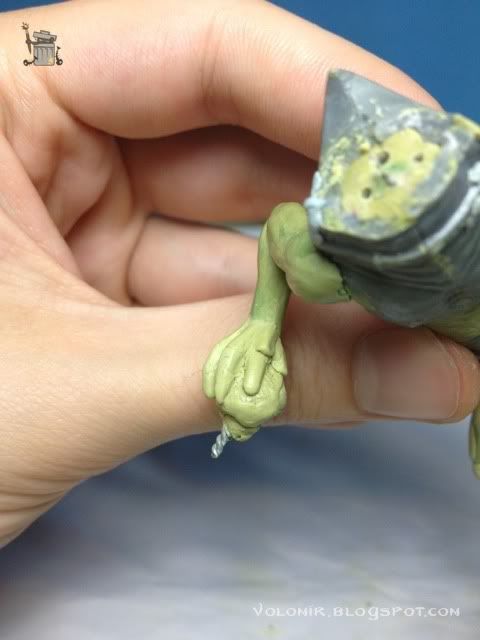
Also, this rough approximation works as a starting surface for the putty I will be modelling the fingers with.
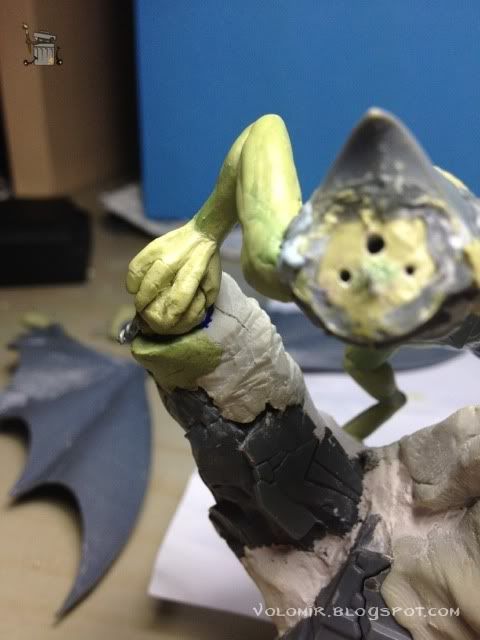
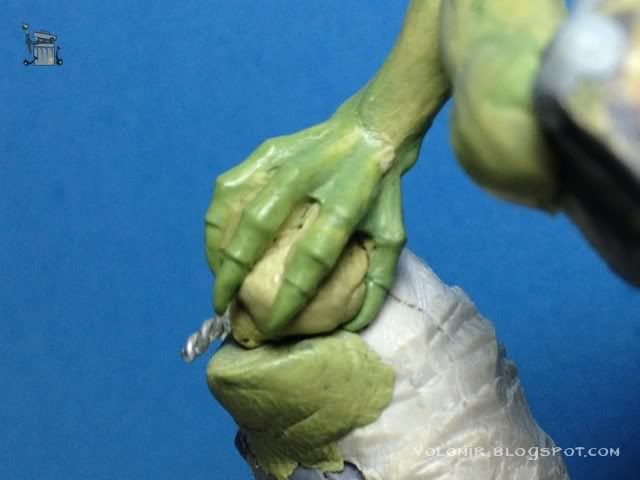
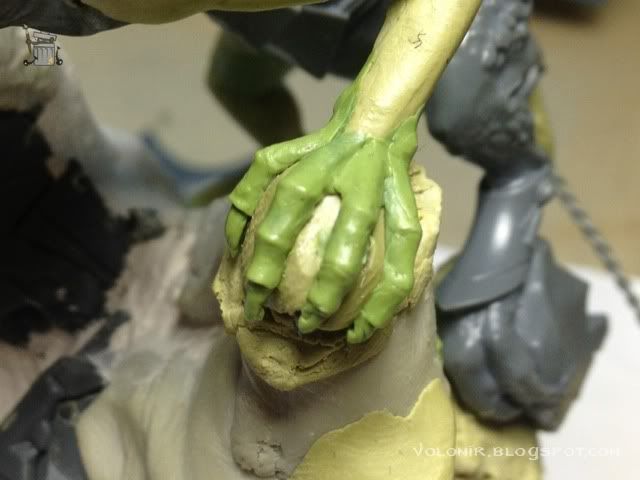
I will use a different putty for this, a mix of Milliput and Duro, 50-50. The key here is to identify the knuckles and joints of the fingers because that is where there will be more volume. I add some putty there and smooth it up by kneading the putty carefully with a clay shaper. See how the fingers magically start to shape out.
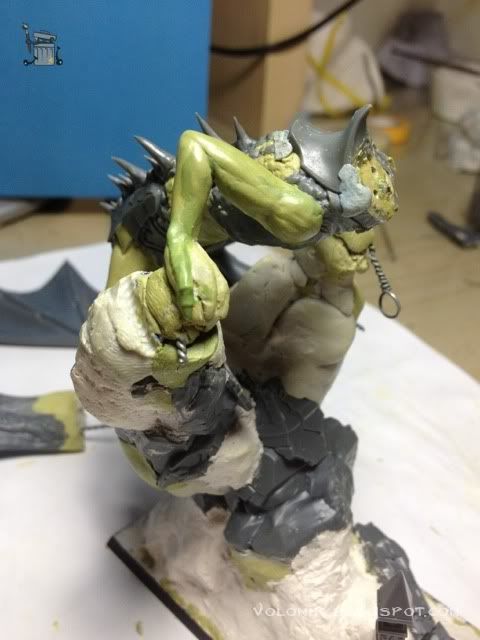
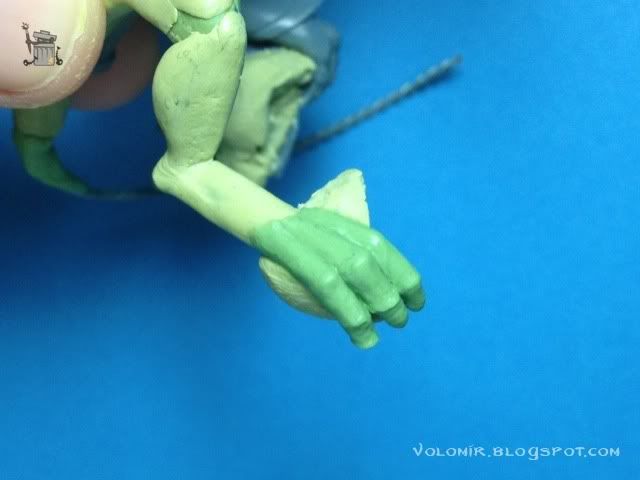
This modelling part is probably the most fun of all! I enjoy sculpting hands very, very much. Now I'll do the left hand, same process. First some putty applications as a rough draft.
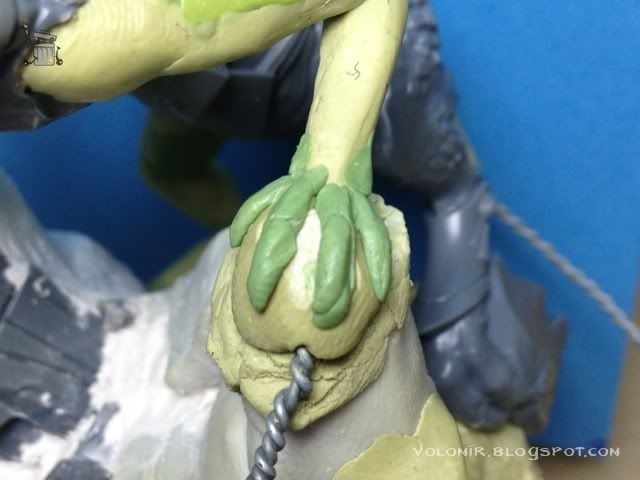
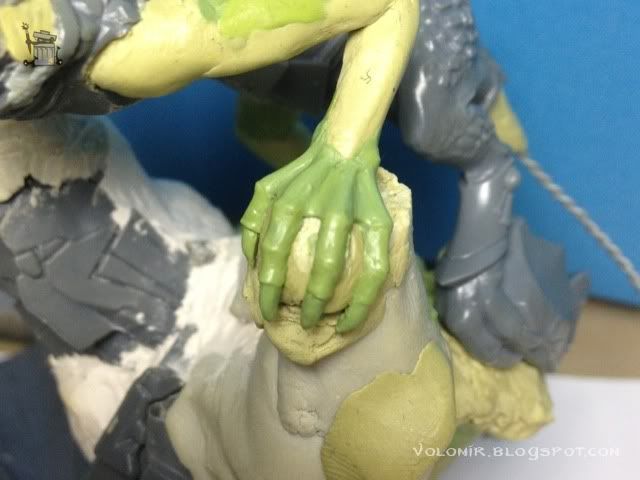
Once these are cured (or hard enough to model over them) I put some more putty applications to make the knuckles and finger joints, the key to make the hands stand out.
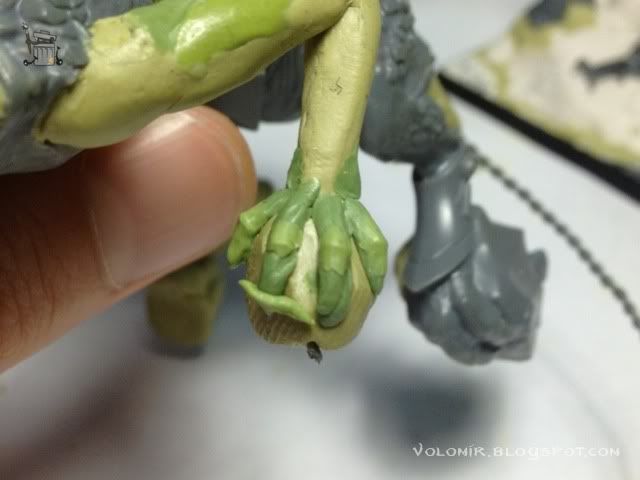
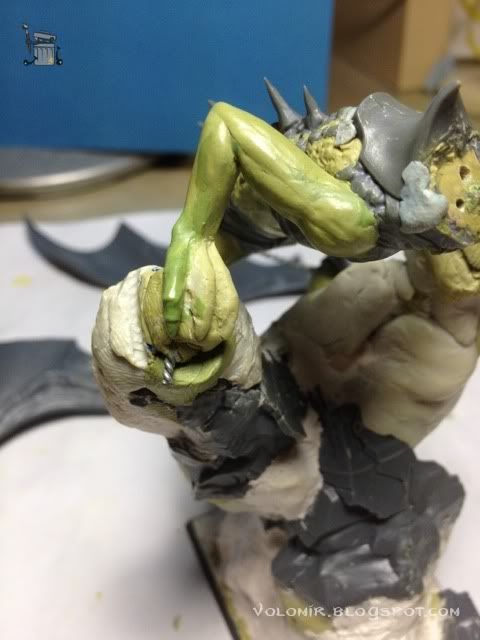
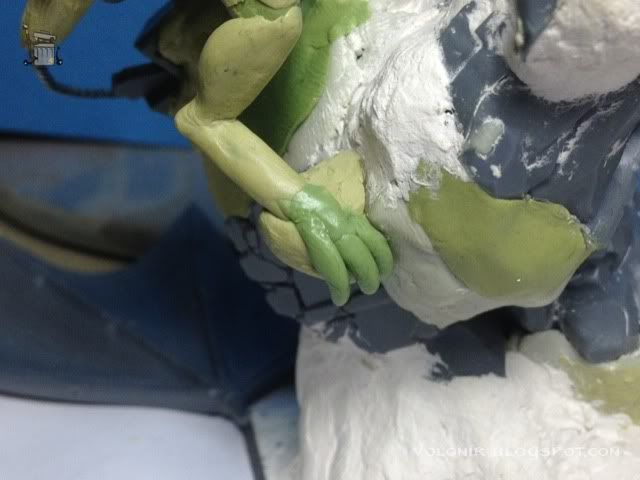
After the knuckles are cured and I have marked the nails with putty (roughly at first, again, to make a surface to model on later), it starts to look like an actual hand/claw.
Perfecting nails a little bit and other minor details...
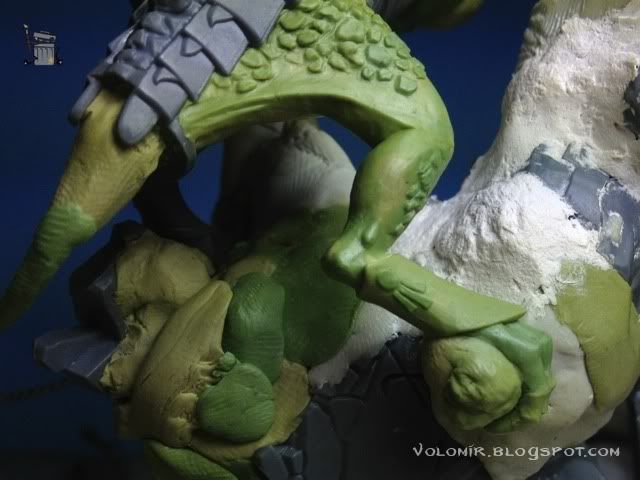
I use some excess of putty to start work on the right foot, first rough approximation which will serve as a surface for the fingers.
And then I do the same thing I did with the hands, first some minor applications of putty for the knuckles (I'm not sure if knuckles is the right word).
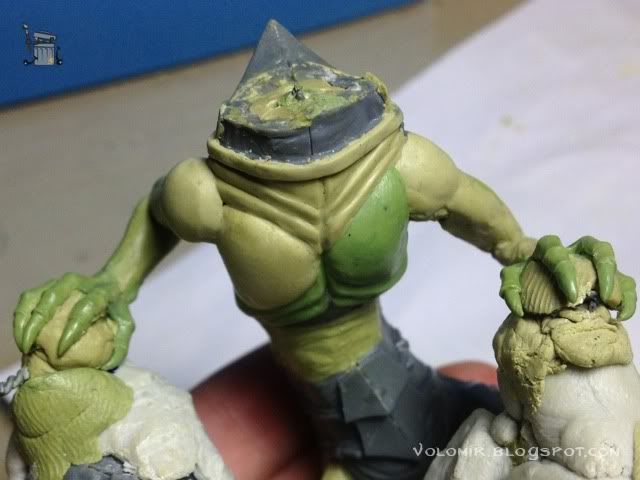
At the same time, I decided to make the torso wider. This will make sense soon, because I've started to notice that the neck is somehow too thin and large, and I want to compensate that sensation.

Some putty applications to be the first approximation of nails on the foot.
And the final widening of the torso.
The foot wasn't much work so I'll move on to model the whole leg. More putty applications to perform the lower armour pad on the leg and some textures on the skin, basicly lizard scales similar to the ones the original model has. First steps.
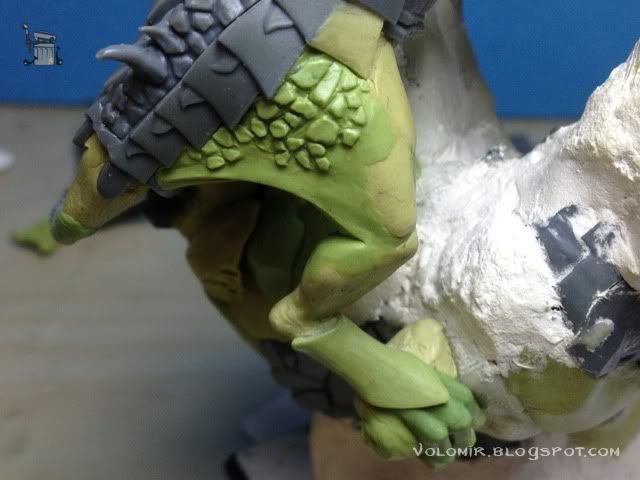
And more progress, adding details on the armour pad and completing the scales on the legs.
I should do the same on the arms next! Stay tuned!
3 comments:
impresive work, as always!
Hm... I really need to pick up sculpting and converting ;)
Really a great sbs. I love the conversion! This will probably rock the show! Regards Tuffskull
Post a Comment