
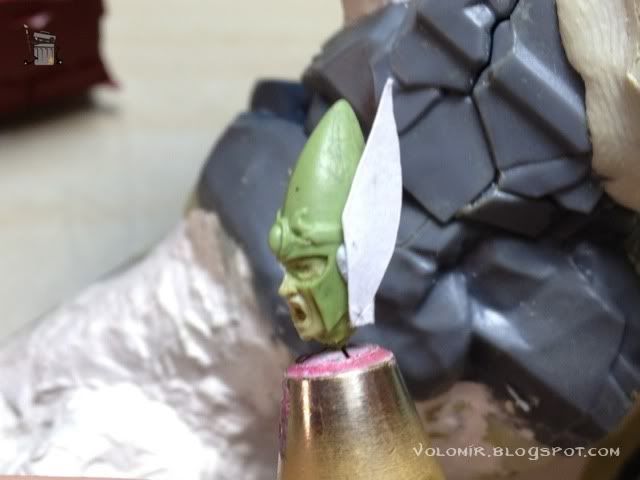
So let's start doing some work on the rider. First of all, I took an old elven helmet an used it on top of the head, very carefully so that the two things match. I sculpted the sides of the helmet to cover the sides of the face (not perfectly now, just to see how it would look like), and then used some paper cut wings as approximation.
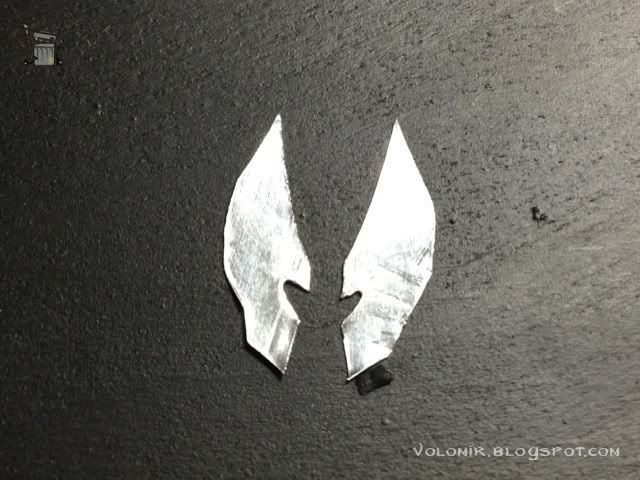
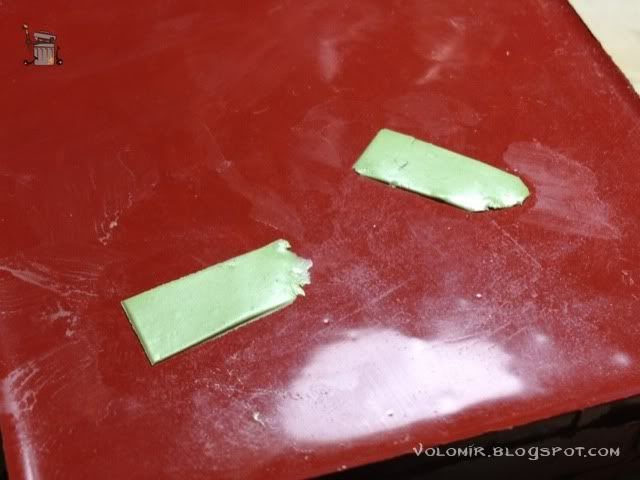
Looks good so I will elaborate on the wings. I will use some tin to create them. I use the same shape of the paper to cut around the tin.

Here's how they would look like, freshly cut.
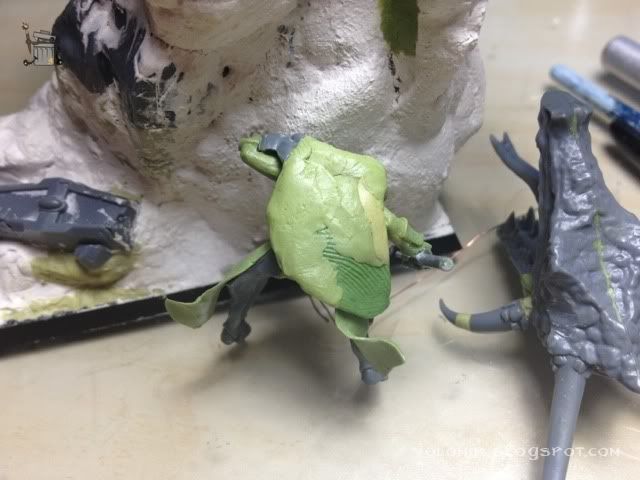
At the same time, I'm going to cover the sides of the legs with some cloth. I knead some putty and make it plain just by using the sides of a pen or something like that with water or little oil so that if doesn't stick to fingers or surface.
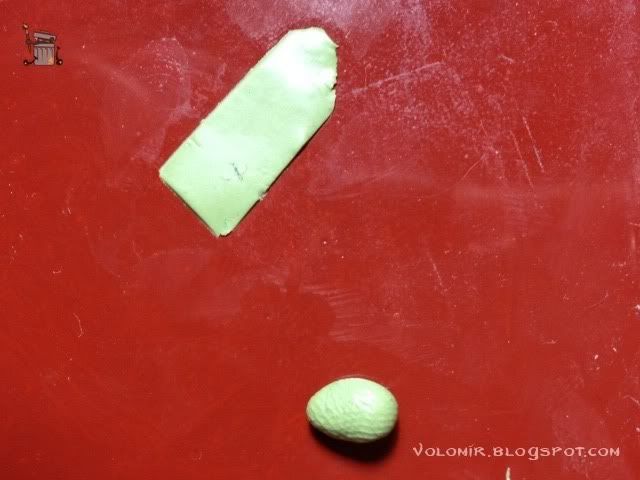
And I will use those as some kind of cloth on the sides. First approximation, as always.
Let's continue kneading and making plain pieces of putty.
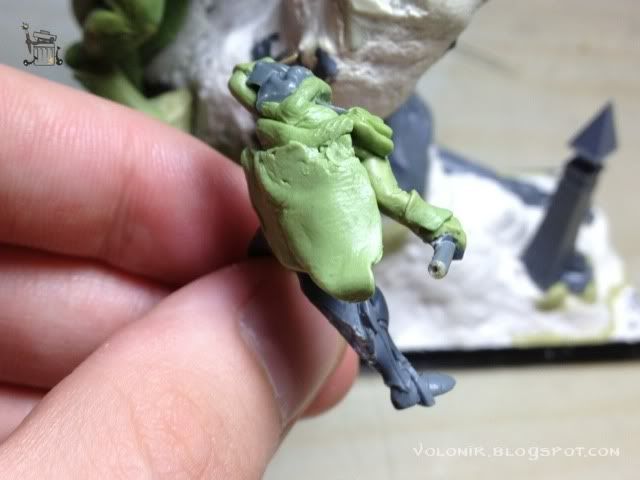
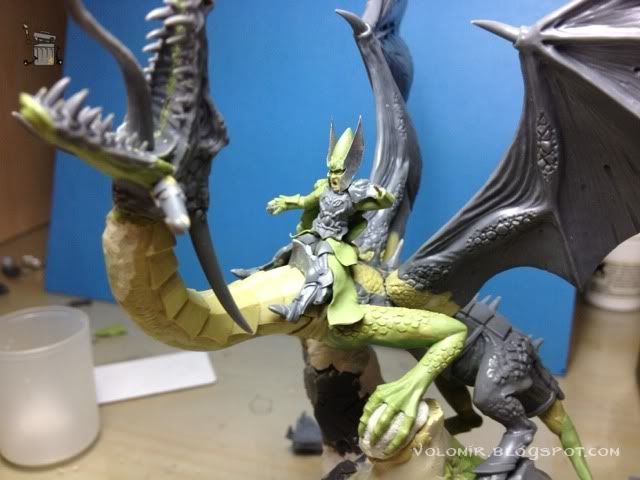
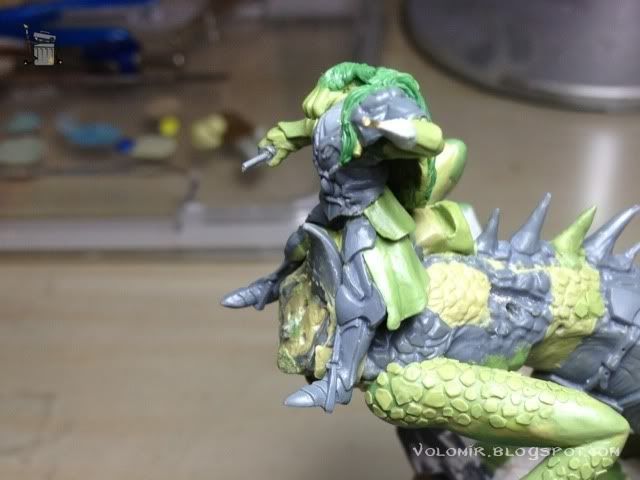
Glue the wings to the helmet and complete all the clothes of the legs. Here's how the rider looks like on top!
Not bad, but there's still a lot of work to do here. In the meantime, I've been covering the tail of the dragon with the excesses of putty I wasn't using, so it might be time to complete that.
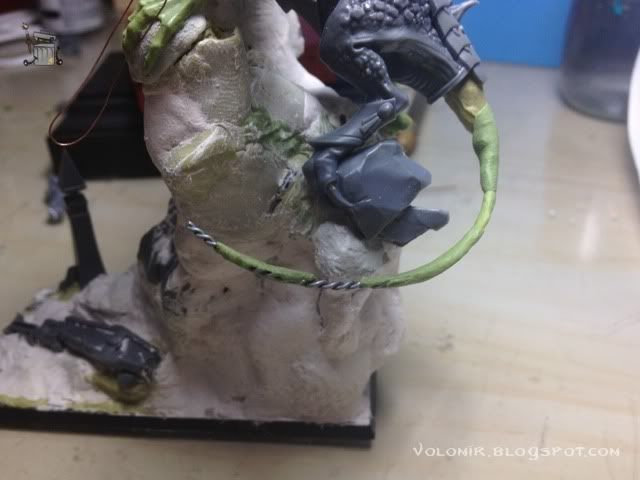
First I'll do a rough shape of the whole tail with green stuff and milliput.
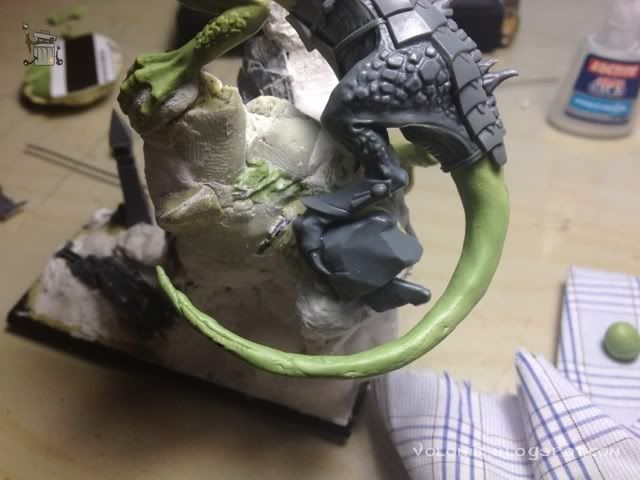
And now little by little, I start shaping the scales on top of that rough shape of a tail. I divide the tail in a few sections so I can concentrate on each one before the putty dries and then on to the next. I did the whole tail while watching a football match, so the method proved to be very productive!
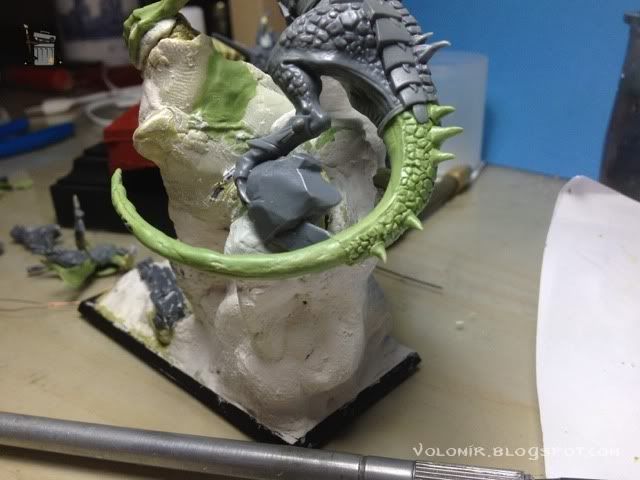
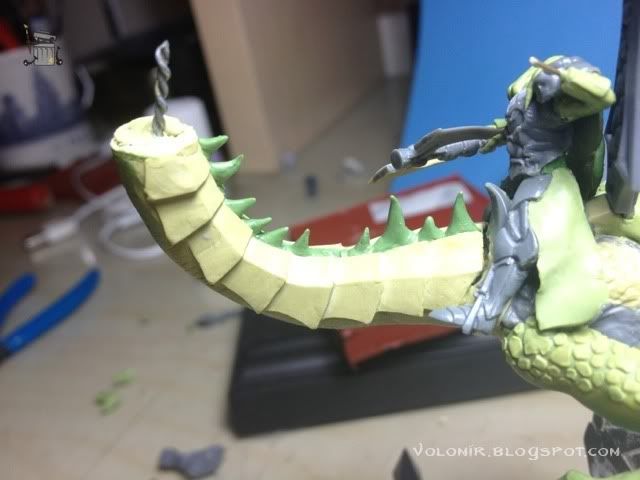
This is how the tail looks nearly completely finished.

Let's add a cool termination at the end.

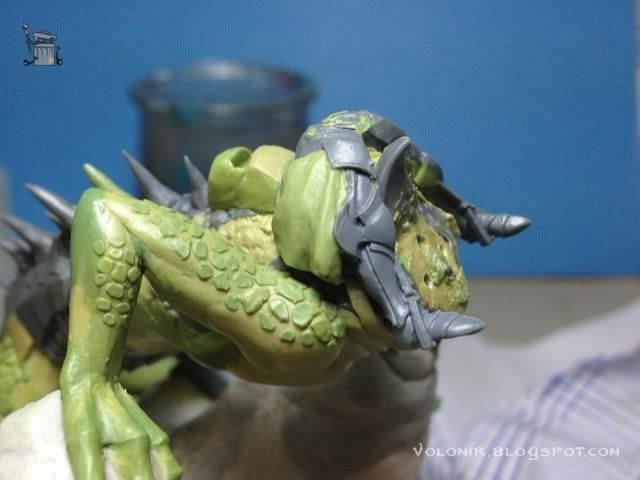
I am also doing the horns on the middle part of the neck. They are not very big so I won't be needing a wire to make them stronger. Just a mix of milliput and greenstuff, with more quantity of greenstuff so that the mix is harder than usual, will be enough. Don't use the putty when just mixed, wait a little bit so it cures and it gets harder.
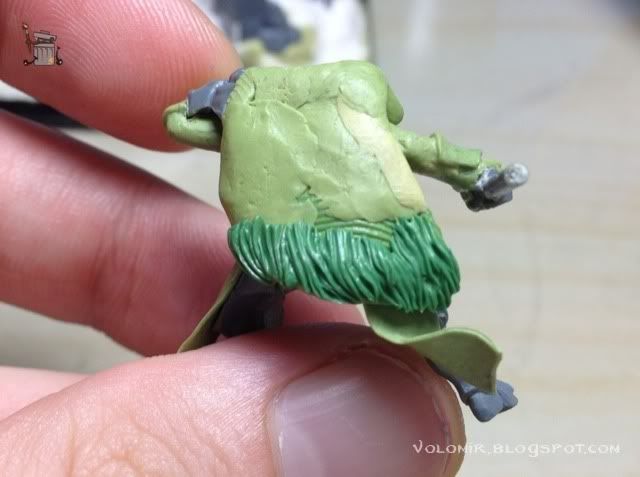
The rider needs a good cape or lion fur (or some kind of fur, I won't fool you guys, this hair I'm going to sculpt is certainly not lion fur).
I'm sure you've read tons of tutorials on how to sculpt fur. So probably this technique will be very similar to anything you've seen so far. First of all, I put a row of little cones of greenstuff on the lower part.
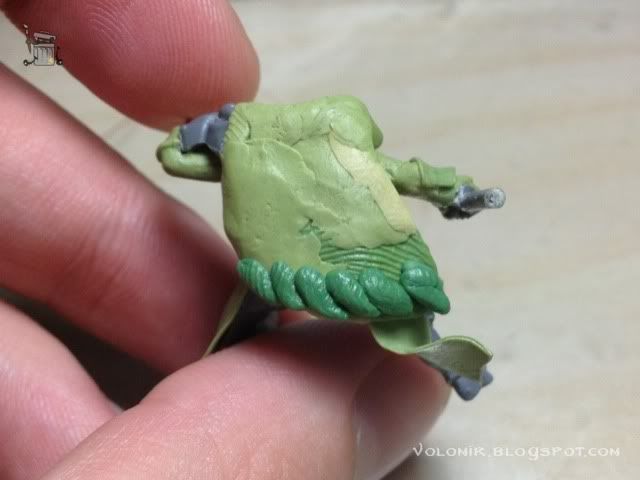
With a clay shaper (the black one with the flat head), or simply a metal sculpting tool like the ones GW sells, I'll start shaping up the hairs.
Remember I said that the clothes on the sides of the legs were really bad? They really were. So i'm doing them again, using the ones I had before, I cut them shorter and then sculpt some waves so they look more realistic.
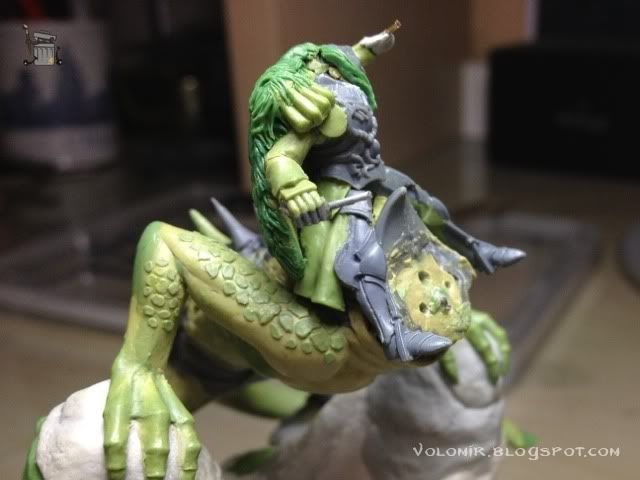
Here's with the torso and the right arm quite advanced. Also, I've added the typical lion paw at the shoulder, and some fur all around it. So White Lion!
In the meantime, I'm doing the straps that fix the armour plates to the neck of the dragon.

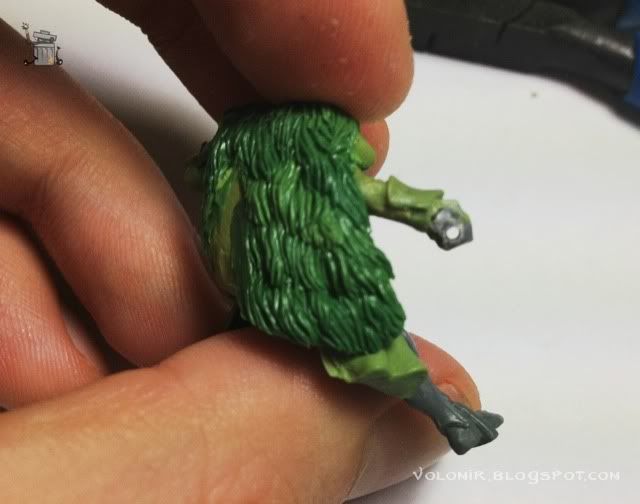
Here's the back fur cape finished.
Continue to WIP: High Elf Dragonlord Part 8
3 comments:
This is mind bogglingly brilliant
Hi,
I will have to resculpt some significant amount of new lizardmen models and thus have to do a lot of scales.
Could you PLEASE explain in more details how you did the scales on the arms and tail?? (Maybe even by email) I love them!
G.
I'm glad you like them!
Its basically made out of green stuff. Very simple, you take a little (very little) ball of green stuff, place it over the skin and then squash it with your usual modelling tool (in my case, I use rubber brushes). And that's it! Extremely simple!
Post a Comment