
And as I told you before, we will now see a story of stubborness and failure. In terms of real progress of the miniature, I made none after all of this. But I learnt a lot. "Why do we fall?" ;)
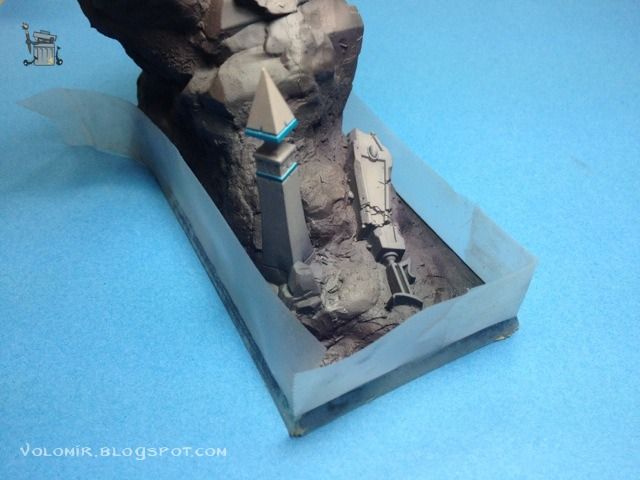
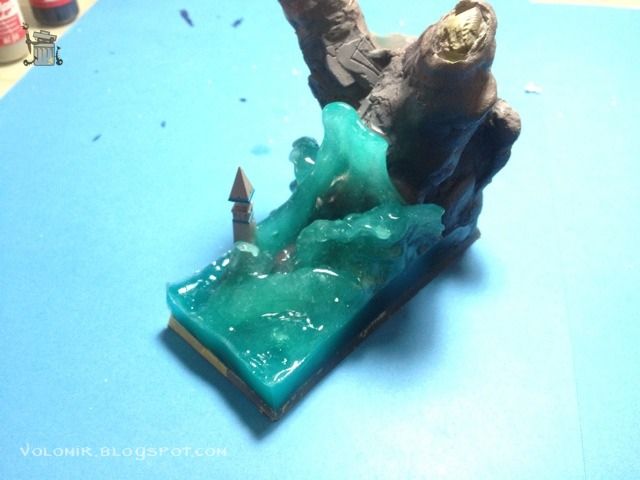
Time to add some water into the base. As you know, my intention is building a sea shore environment, with a big wave crashing into the rocks just beneath the dragon. This idea will give a lot of strength to the scene. First of all, I will build a cavity where I will pour the liquid resin which will serve as the sea base.
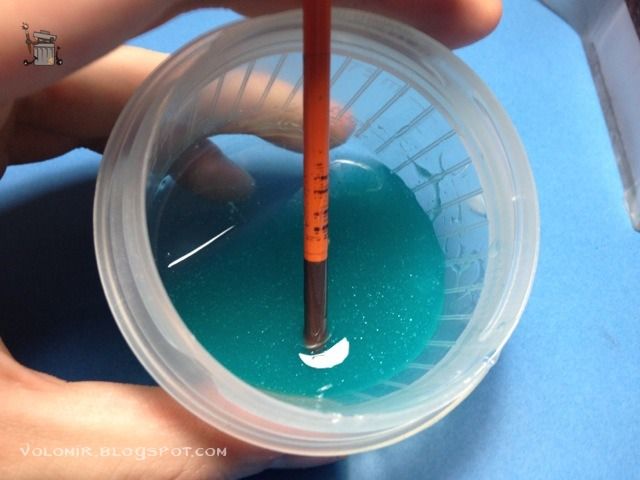
The liquid resin is mixed in a pot, and I add a little bit of turquoise oil colour so that the water gets a blueish kind of tone.
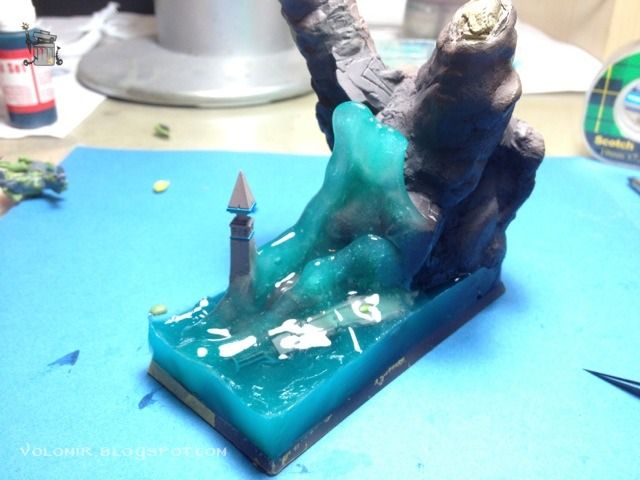
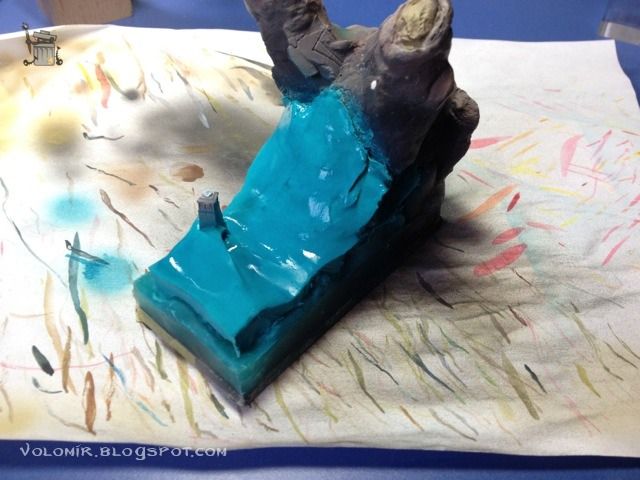
The first pour will be the sea base level, but the wave will be added on top of that. To do it we let some of the resin water in the pot dry to the point where it can be modelled (very roughly and not comfortably because it's sticky like chewing gum) and then add it on top modelling it accordingly.
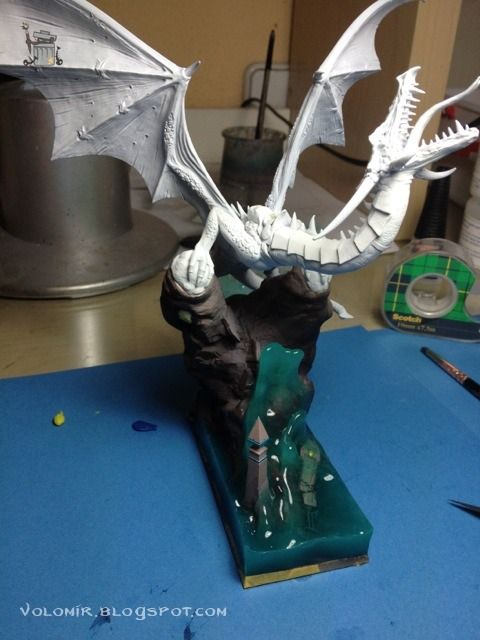
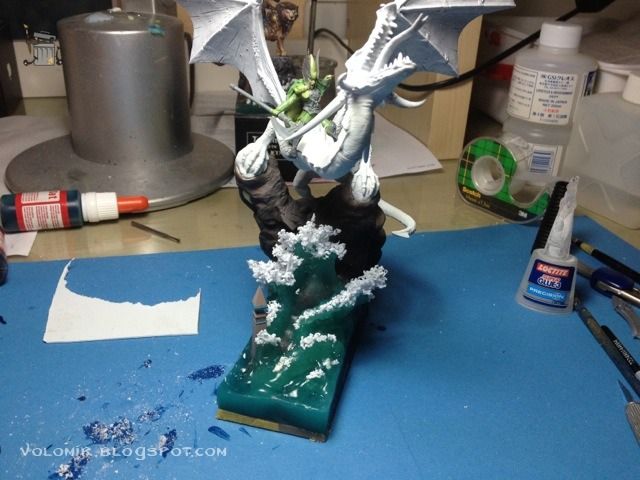
This is how it looks with the dragon on top.
With this first sea base, I can add more waves to the composition.
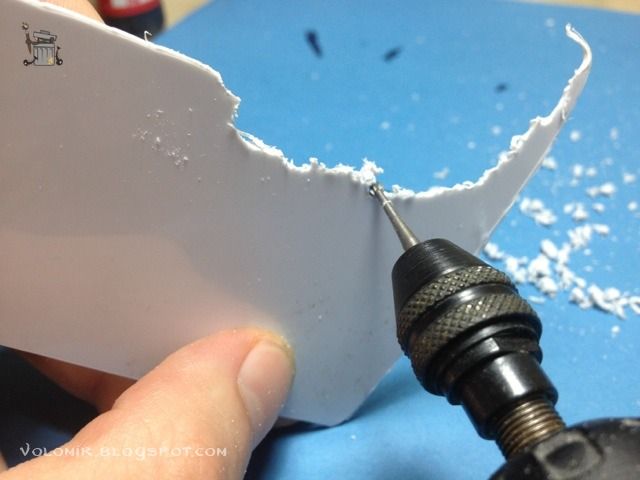
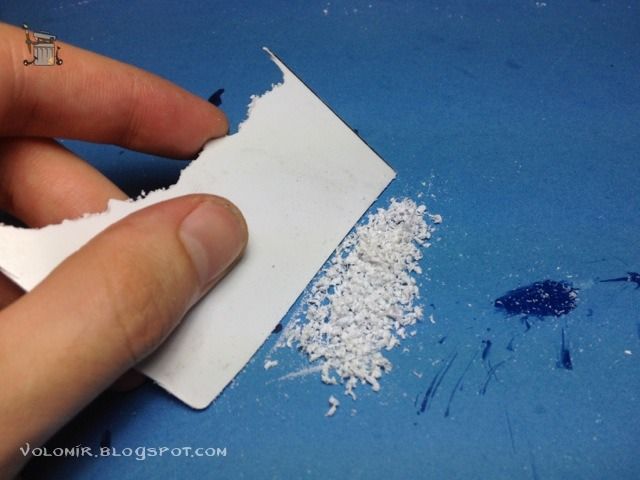
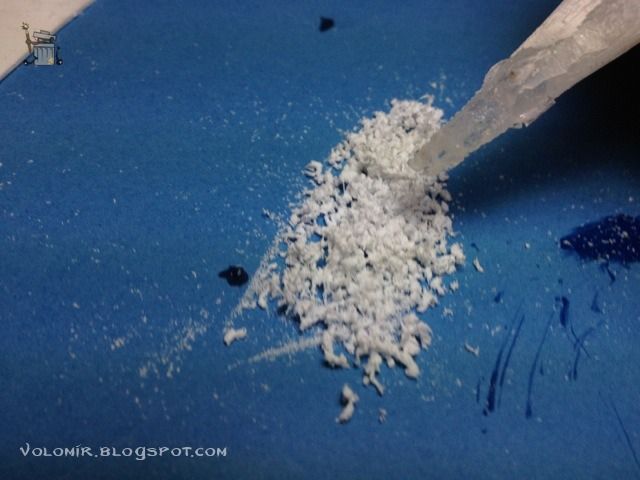
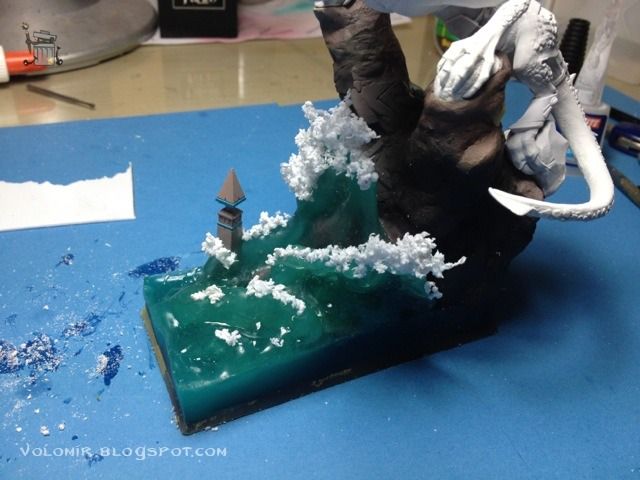
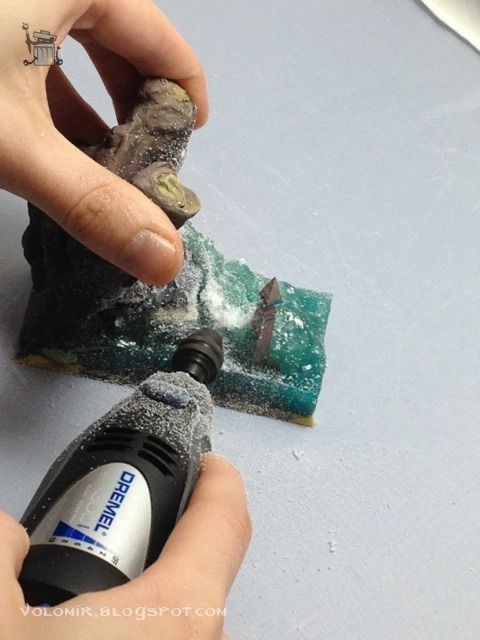
Now I will add some foam to the crashing waves.
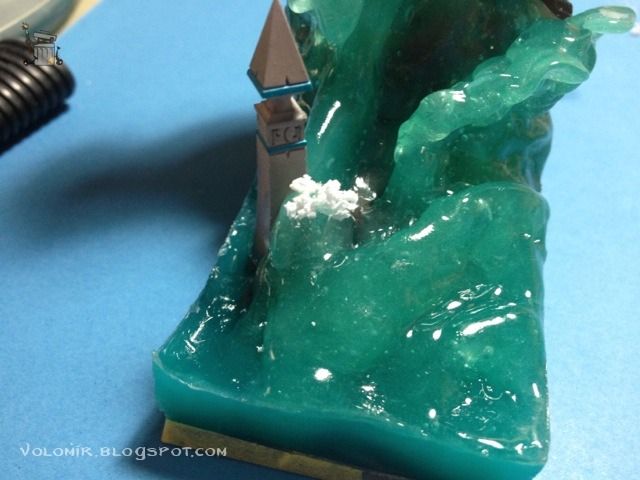
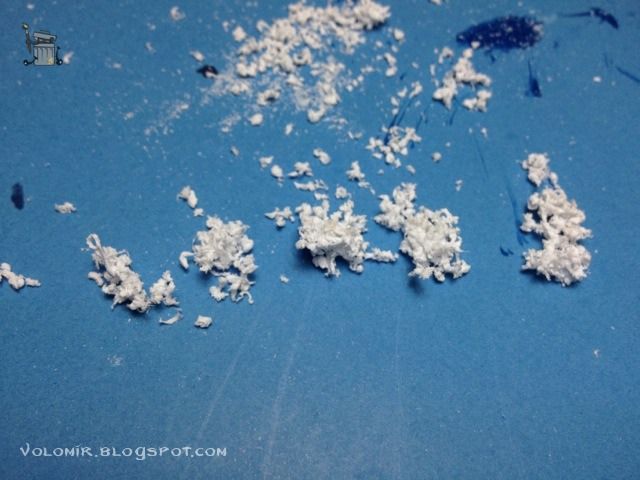
It's made out of plasticard burnt with a dremmel to the point where it melts and creates scraps of melted white plasticard.
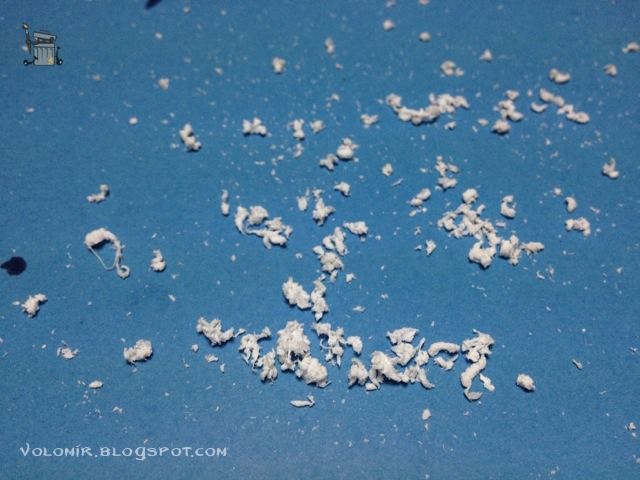
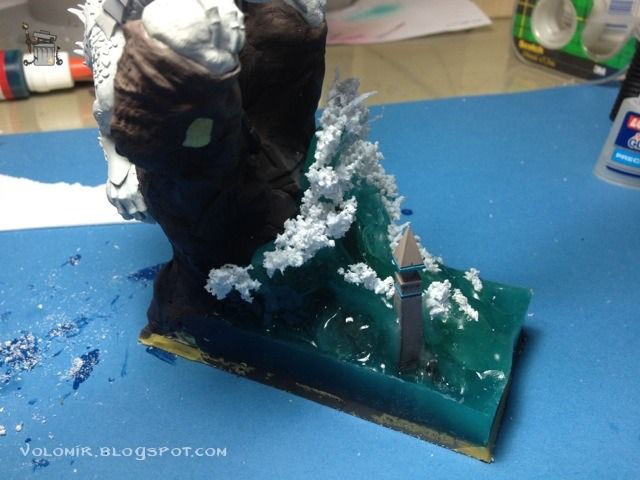
The little bits and pieces of foam should be added to the base, sticking them with superglue, which is transparent and won't be noticeable with the water works.
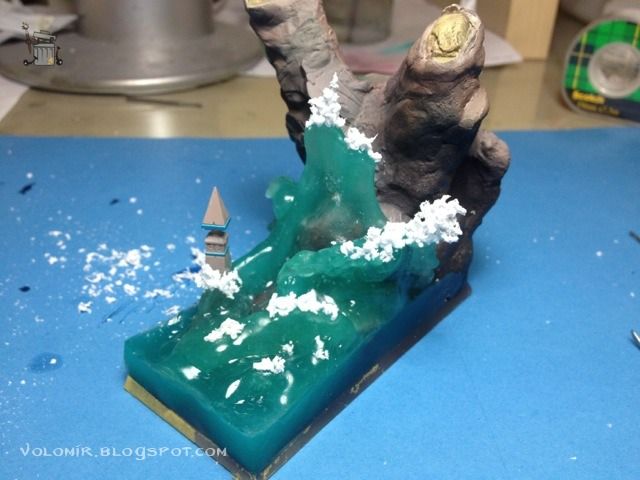
Here's how it would all look with the dragon again.
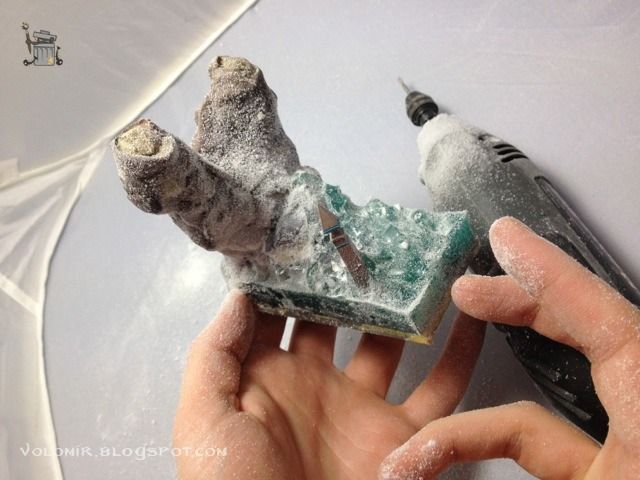
At this point, I sit down and relax. I see the composition from every angle. Something is just not right. After neverending consideration and thinking, I decide that this water is crap and that it should be done again. This type of water and foam may have worked with Tribute to the Fallen because the base was way smaller. But this is just not doing it. This is nothing like the sea, or waves crashing in the shore. Looks like a popcorn tree. And the water is not than convincing. So... time to destroy!
With a dremmel I destroy the water waves in the base.
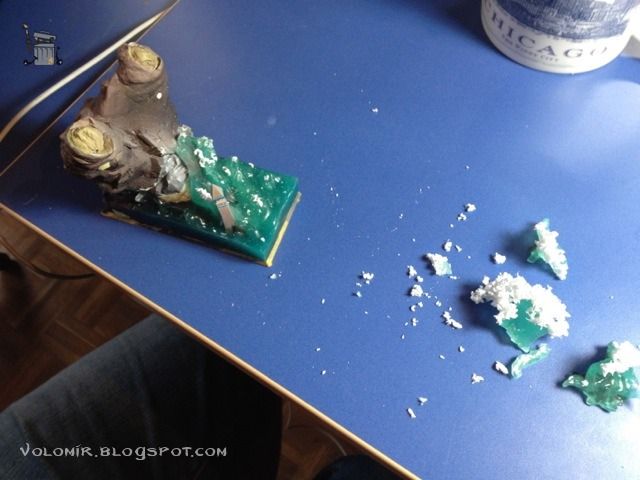
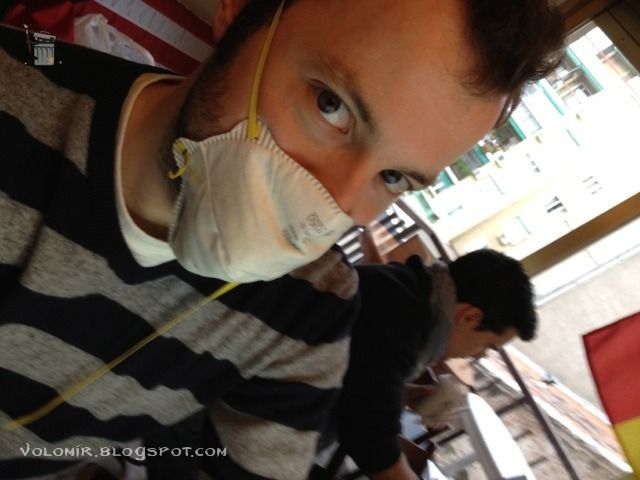
Always wear protection when working with resin!
Ok, so I will rebuild the base, but this time I will use a different approach. I will use waves made out of putty (in this case, Magic Sculpt), and then put some resin on top. This will let me model the waves in a more controlled fashion.
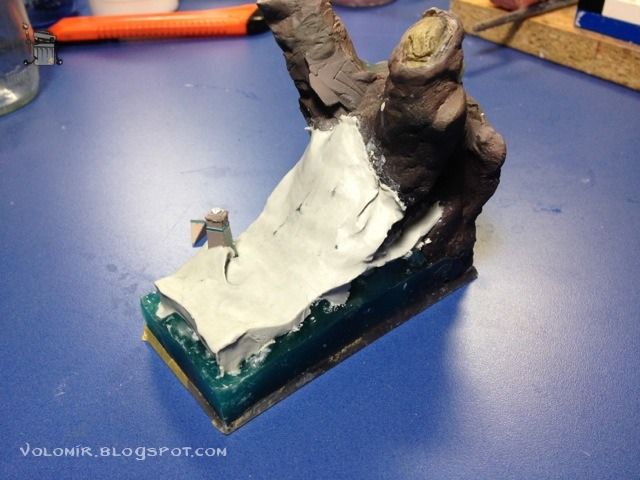
Before adding the waves, I need to put some blue colour to the white putty.
And then I build some more cavity walls which will hold the new water resin.
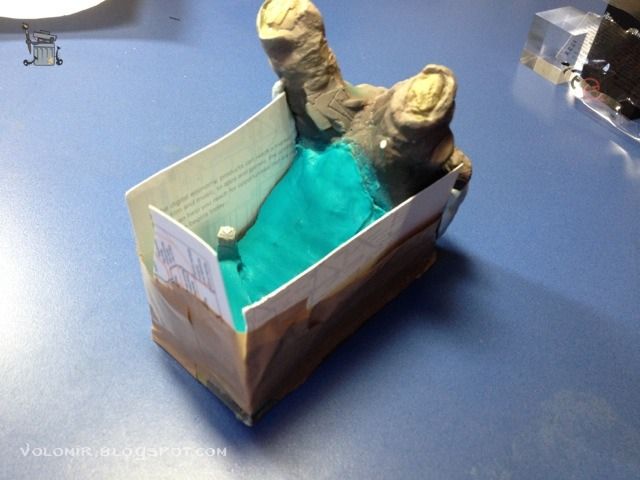
But wait... what was I thinking about? Obviously I didn't have to pour in water resin this time. I just needed some water effects... ugh... total failure.
This base ended up as a complete failure and was destroyed for the greater good. There are no photos of this because it was a very sad and frustrating moment. But obviously it wasn't all in vain. Failure is important to be able to learn. From this experience, I rose like a DBZ Saiyan, better, harder, stronger.
Continue to WIP: High Elf Dragonlord Part 11
10 comments:
Interesting history of creation... It's look a little like my old tutorial:
How to make a base with water effect?
I actually used it for inspiration. It's freakin' awesome!!!
Water effects are so daunting... and is nice to see that there is some scope to be brave and "re-do it" if not happy.
If I tell the truth I liked the initial version of the water more than the final one (more waves and dynamic) but It was not me there doing it!!
If you look at it closely, the water like that makes no sense...
So gods also fail :). My only comment would be to ask you to include which brand/material are you using for the water effects.
I am happy that my tutorial inspired you :)
@Bacms: The water I used is Andrea Water Effects. There are many other brands that produce a resin which is basically the same. I used Andrea just because that's the one they had at my local store (bought years ago) but you will find it in other brands.
@ARBAL: Thank YOU! True inspirational tutorial! :)
Reminds me of my last water effects base, but on that occasion I just used good old brute force and ignorance to pull the resin off the front ...
Hi, first time I contribute to your blog.. first of all very nice to see a real creating process, including failure..
do you know this one
http://tutofig.com/2012/11/how-to-make-splashing-water/
I know that 2k water works pretty well also.. ;)
good luck
Nice tutorial! You'll see that I used a different approach later and I think it is even better than that. But thanks for the information! Much appreciated!!! :)
Post a Comment